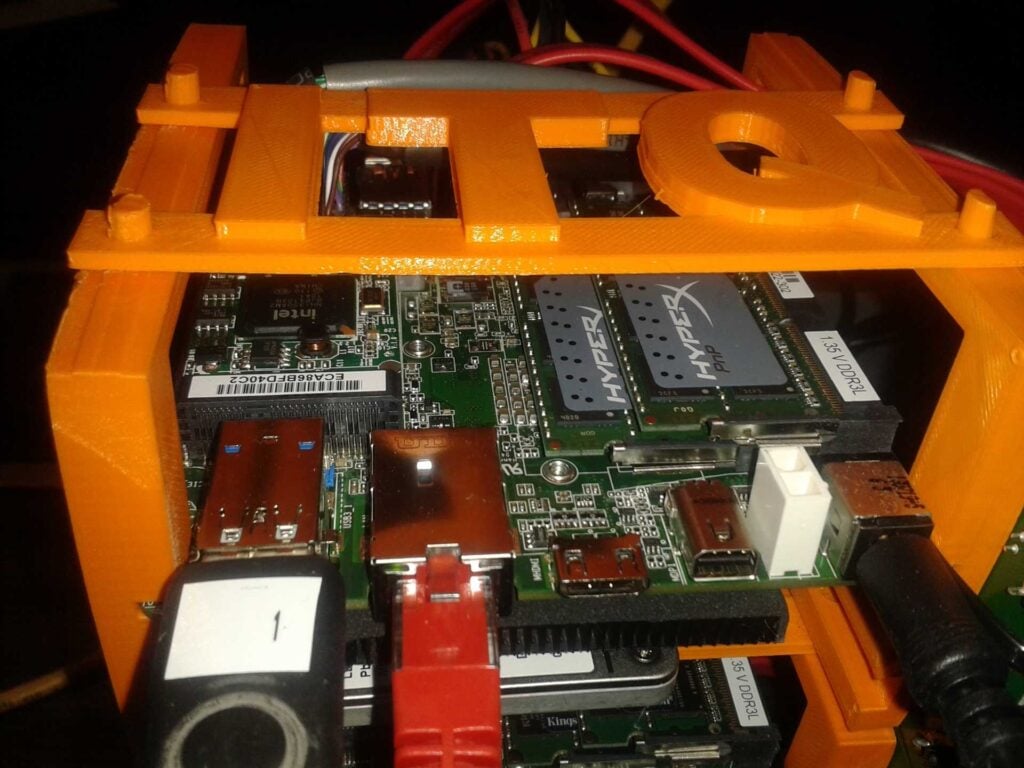
My previous blog post was about what our shoebox sized datacenter looked like from the hardware side of things. I will address the actual performance in another blog. This post will tell you about the software we are running and how we installed it. I won’t go into too much detail as there are plenty of blogs around detailing every step.

vSphere 5.5
As you may have expected the whole shoebox size datacenter runs on vSphere 5.5. All three servers are running ESXi 5.5 from a USB thumb drive. I will explain how to get this up and running in a minute. The ESXi servers are managed by vCenter server 5.5. I used the virtual appliance because it is so quick and easy to deploy and no windows licensing is involved. To be able to automate the demo’s I also deployed the vCenter Orchestrator 5.5 Virtual Appliance and integrated it with vCenter.
To get the NUCs up and running without errors you need to take a few steps you wouldn’t normally take when installing a new ESXi server. You need an ISO with a couple of custom drivers and the install ESXi to a USB drive. There are already a few blogs around with very detailed descriptions on how to create the ISO and do the installation. So I’m not going to do another detailed write-up but just give you the links instead.
- http://www.virten.net/2013/09/esxi-5-x-installation-on-intel-nuc-fails-with-no-network-adapters/
- http://trainingrevolution.wordpress.com/2013/12/30/installing-vsphere-esxi-5-5-on-an-intel-nuc-d54250wyk/
Let me quickly summarize the steps I took to get the NUCs going:
- Download the custom drivers
- Create a custom ESXi ISO which contains those drivers. I used ESXiCustomizer to do this but you could also use the VMware PowerCLI tools to create a new ISO.
- Create a new virtual machine in VMware Workstation or Fusion. Use ESXi 5.5 as the OS version. The VM does not need a harddisk. Just make sure you assign 4GB of Ram and 2 CPU’s.
- Insert an empty USB drive (1GB at least) in you computer and connect it to the VM you just created
- Boot the VM from the custom ISO and run the ESXi installation
- When installation is finished, take out the USB drive, plug it into your NUC, turn the NUC on and wait until it’s booted. You may have to tell the BIOS to boot from USB but it usually does this automatically.
- Now configure the management network on ESXi from the console or use the DHCP address.
- Connect to the NUC using the “old” vSphere client to finish configuration, connect and iSCSI target and deploy the vCenter appliance.
PernixData FVP
To use the SSD Drives connected to the NUCs as a flash cache we used PernixData FVP. This product pools the flash storage from different nodes into one flash cache pool. It is able to do write through as well as write-back caching. To protect data, each write can be replicated to another node in the pool which basically allows you to keep using VMware HA while having wrtie-back caching enabled. Also, the cache on one node can be accessed from other nodes. This means you can use vMotion and DRS without limitation and with only a very small performance impact only right after vMotion.
You can read more about PernixData here or here or checkout Frank Dennemans blog.
The installation of PernixData is very straightforward. You use esxcli to deploy the FVP kernel module to each ESXi Host. You could also incorporate it in your custom ISO so you won’t have to bother installing it on every host. Or just automate the installation.
You’ll also need a Windows VM to run the FVP management server. When you download PernixData FVP it comes with a very good installation manual. For a test setup just follow the manual and use the MS SQL Express database. Once the FVP Management server is up and running you should see a new item in the vCenter webclient called “Flash Clusters”. When you are running vSphere 5.5 there is no option to install a plugin in the old vCenter Client so you have to use the web client.
Now that you can access the FVP Plug-in in vCenter you can go ahead and create a flash cluster containing all SSDs in the vSphere cluster. The UI itself will actually guide you in doing this. Saves me some work… 🙂
That’s it. No other magic or secret sauce was used to create our awesome shoebox sized datacenter. My next blog will be about the tests we did on this microscopic datacenter. So stay tuned for the results of our performance tests.