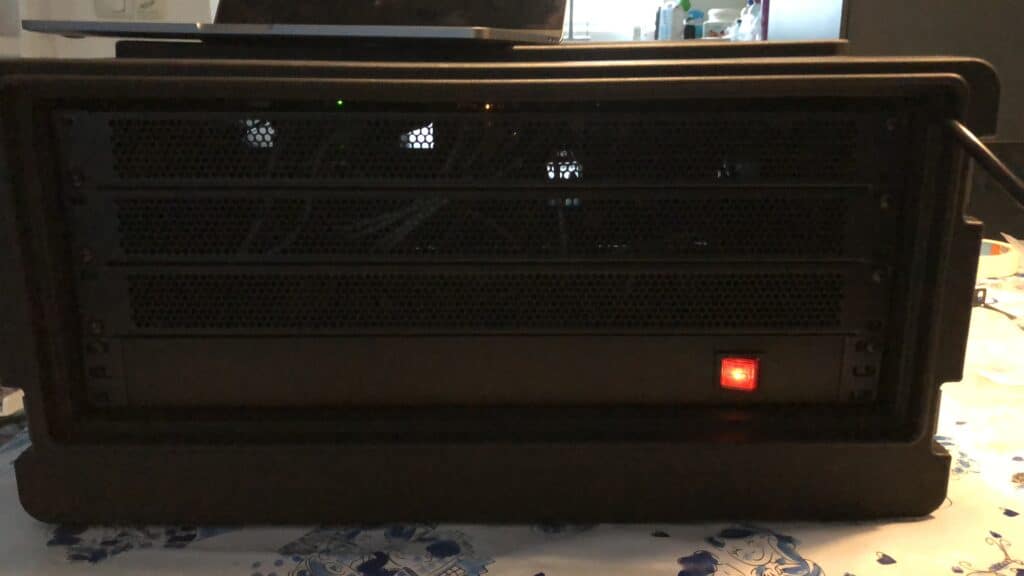
Last year I wrote about our mobile labs. The first version was build in a 4U rolling rack. Then we build a similar one (V2) and jammed all that goodness in just half that size and in 3U! #OMG right! Now almost a year later there was more need for a third lab because we all like to use them for all sorts of mad idea's!
V1
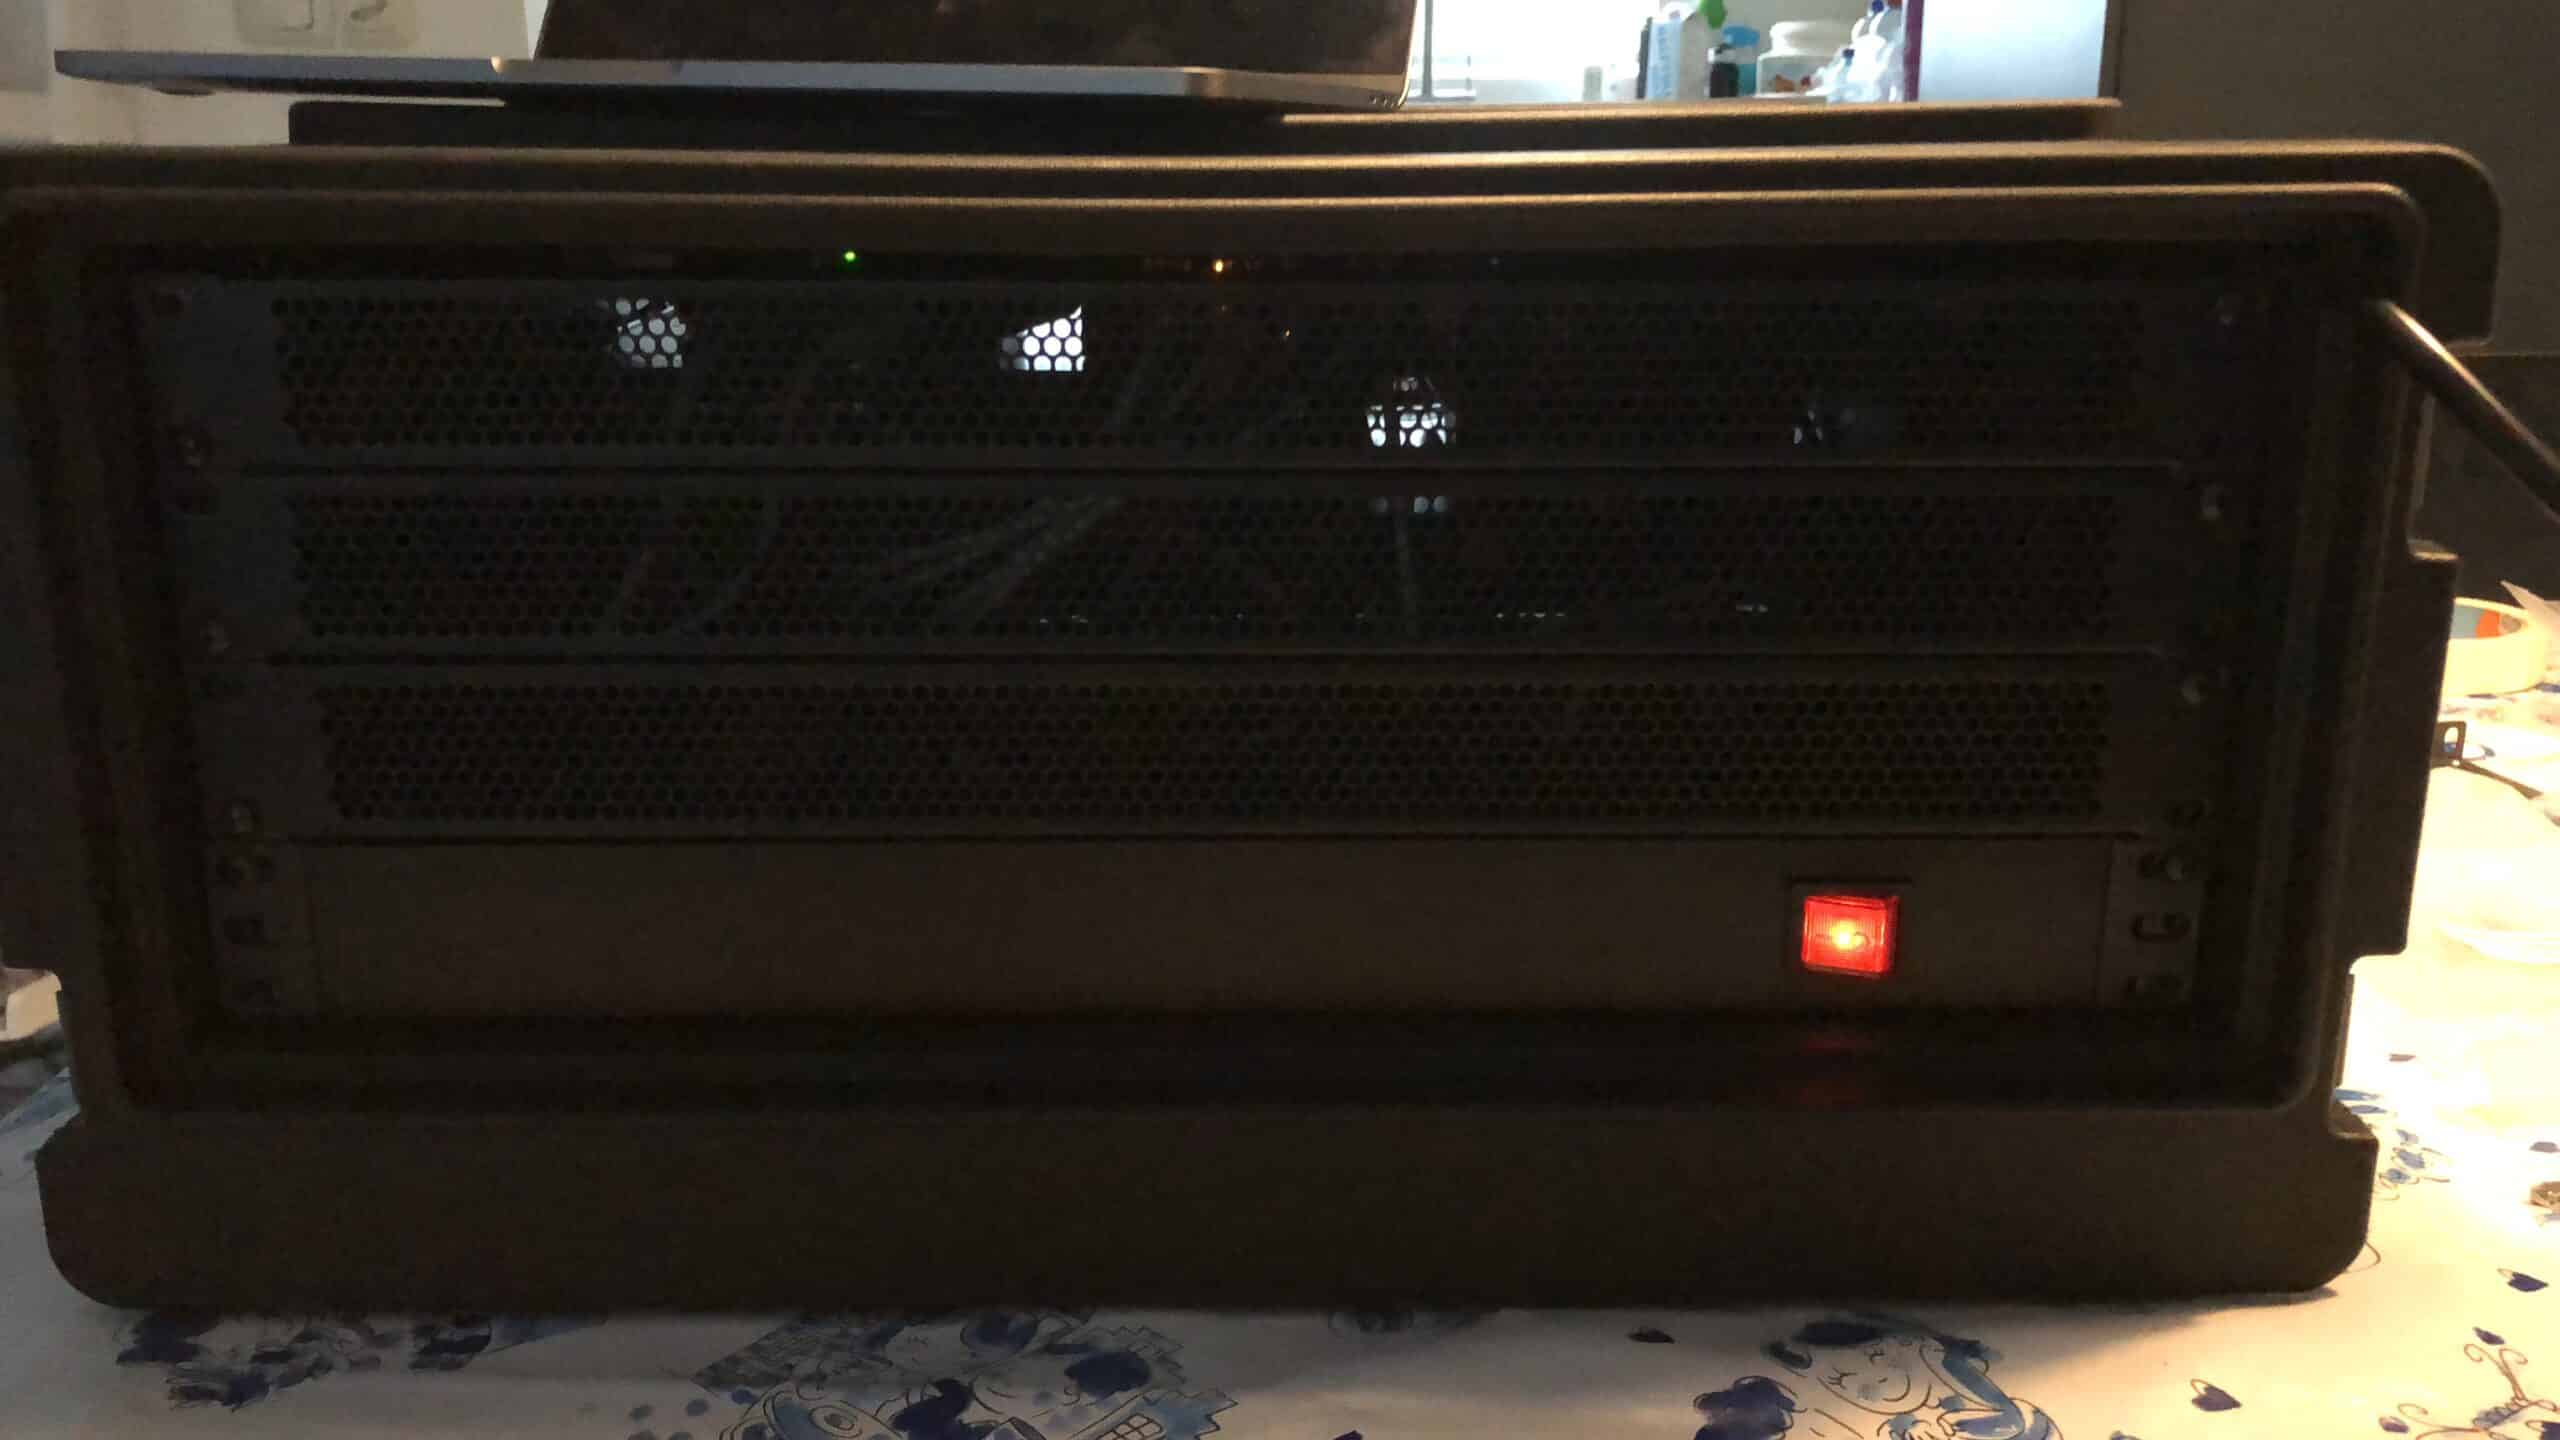
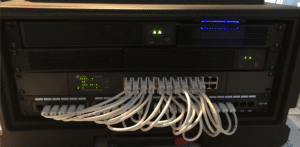
V2
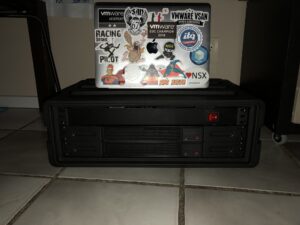
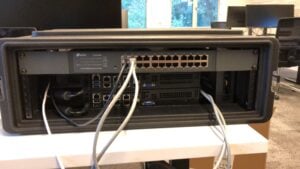
Version 3
Version 3 is built on almost the same hardware as the previous 2 but now that ram prices are dropping again it's less pricy. We even get 64GB ram now for the price of 32Gb last year!
The vSAN hosts are again 2 Supermicros with the 10GB Ethernet NICs direct connected with DAC Cables. Now we did 64Gb per node and with 2 slots open one could upgrade to 128GB per node or even more when buying 64GB DIMMs.
The management host will only run:
- vCenter 6.7 U2 (tiny deployment)
- vSAN witness host (medium deployment)
- Windows 2019 Server with AD/DNS/PKI
- Management / Jump Host
- SQL Server for some databases
I like it a lot that the new Intel NUC8 i5 has 4 Cores and 8 threads instead of the NUC7 where the i5 only had 2 Cores... Where the NUC7 was powerful enough with 32GB the NUC8 with 64GB on just 2 cores would be a punishment on your VM's if you went with the 64GB.
| Management Host | Number |
|---|---|
| Intel NUC Kit NUC8i5BEH | 1 |
| Sandisk Ultra Fit 16GB USB3.0 | 1 |
| G.Skill Ripjaws F4-2400C16D-32GRS | 1 |
| Intel SSD 760p 256GB NVMe M.2 80mm | 1 |
| Startech.com USB-C to Gigabit Ethernet | 1 |
From the NUC6 to the latest you can also pump them up to 64GB ram if needed with the Samsung M471A4G43MB1-CTD 32GB DIMMs. These a little bit more expensive but if you start with 1 you can always add a second DIMM later on. We did not go with the 32GB DIMMs due to availability. Our vBuddy on Twitter, William Lam has a great write up on these DIMMs.
New front io panel:
We noticed that with the previous builds that it kinda sucks not having IPMI or ILO functionality on the NUC. Especially when you want to install ESXi on the NUC when it's buried somewhere in a case :) For that, we added a pretty sweet 1U IO panel. This panel has HDMI and 3 USB ports wired from the NUC and an Ethernet port for the WAN uplink to the router.
My colleague Hans Jaspers pointed out to these sweet parts! Doesn't it look just awesome? Now if you want to set up the NUC just pop in the HDMI, keyboard, your USB drive with the ESXi installer and your golden.

The patch table used:
Used the same patch layout as in the previous builds. Just add your VLAN tags on the vMotion, NSX or Management networks.
| Patch | Backend | VMInfo | Role |
|---|---|---|---|
| 1 | Wan port router | Uplink from home router | |
| 2 | Lan port router | Uplink to switch | |
| 3 | |||
| 4 | NUC NIC 1 | vmnic0 | Managment |
| 5 | NUC NIC 2 (USB) | vmnic32 | vMotion |
| 6 | IPMI E300-8D | IPMI | |
| 7 | NIC 0 E300-8D | vmnic0 | Managment |
| 8 | NIC 1 E300-8D | vmnic1 | Managment |
| 9 | NIC 2 E300-8D | vmnic2 | vMotion |
| 10 | NIC 3 E300-8D | vmnic3 | vMotion |
| 11 | NIC 4 E300-8D | vmnic4 | NSX |
| 12 | NIC 5 E300-8D | vmnic5 | NSX |
| 13 | NIC 0 E300-8D | vmnic0 | Managment |
| 14 | NIC 1 E300-8D | vmnic1 | Managment |
| 15 | NIC 2 E300-8D | vmnic2 | vMotion |
| 16 | NIC 3 E300-8D | vmnic3 | vMotion |
| 17 | NIC 4 E300-8D | vmnic4 | NSX |
| 18 | NIC 5 E300-8D | vmnic5 | NSX |
| 19 | IPMI E300-8D | IPMI | |
| 20 | |||
| 21 | |||
| 22 | |||
| 23 | |||
| 24 | |||
| SFP+ | NIC 6 E300-8D | vmnic5 | vSAN |
| SFP+ | NIC 7 E300-8D | vmnic6 | vSAN |
This picture illustrates the backside of the Supermicro E300-8D and the networking port numbering.
The two SFP+ connectors we used for a direct connection between the two E300-8D nodes so no patching or switching required for that.

The results
Unfortunately, we are still waiting on the E300 rack mounts. First, when the order was delivered we got 2 empty E300 chassis instead of those rack mounts. Without we could not finish the build. When these come in we will update the blog and add the final results with pictures! Due to the questions on the parts used, we have put the blog online to share the kit list.
