Homelabs are always a pickle. So much hardware too choose from and man... what can these things be expensive.
Do you go physical or nested with one box? Both have there pros and cons. Everybody with a virtual opinion will tell you different and there are many solutions that just work. However:
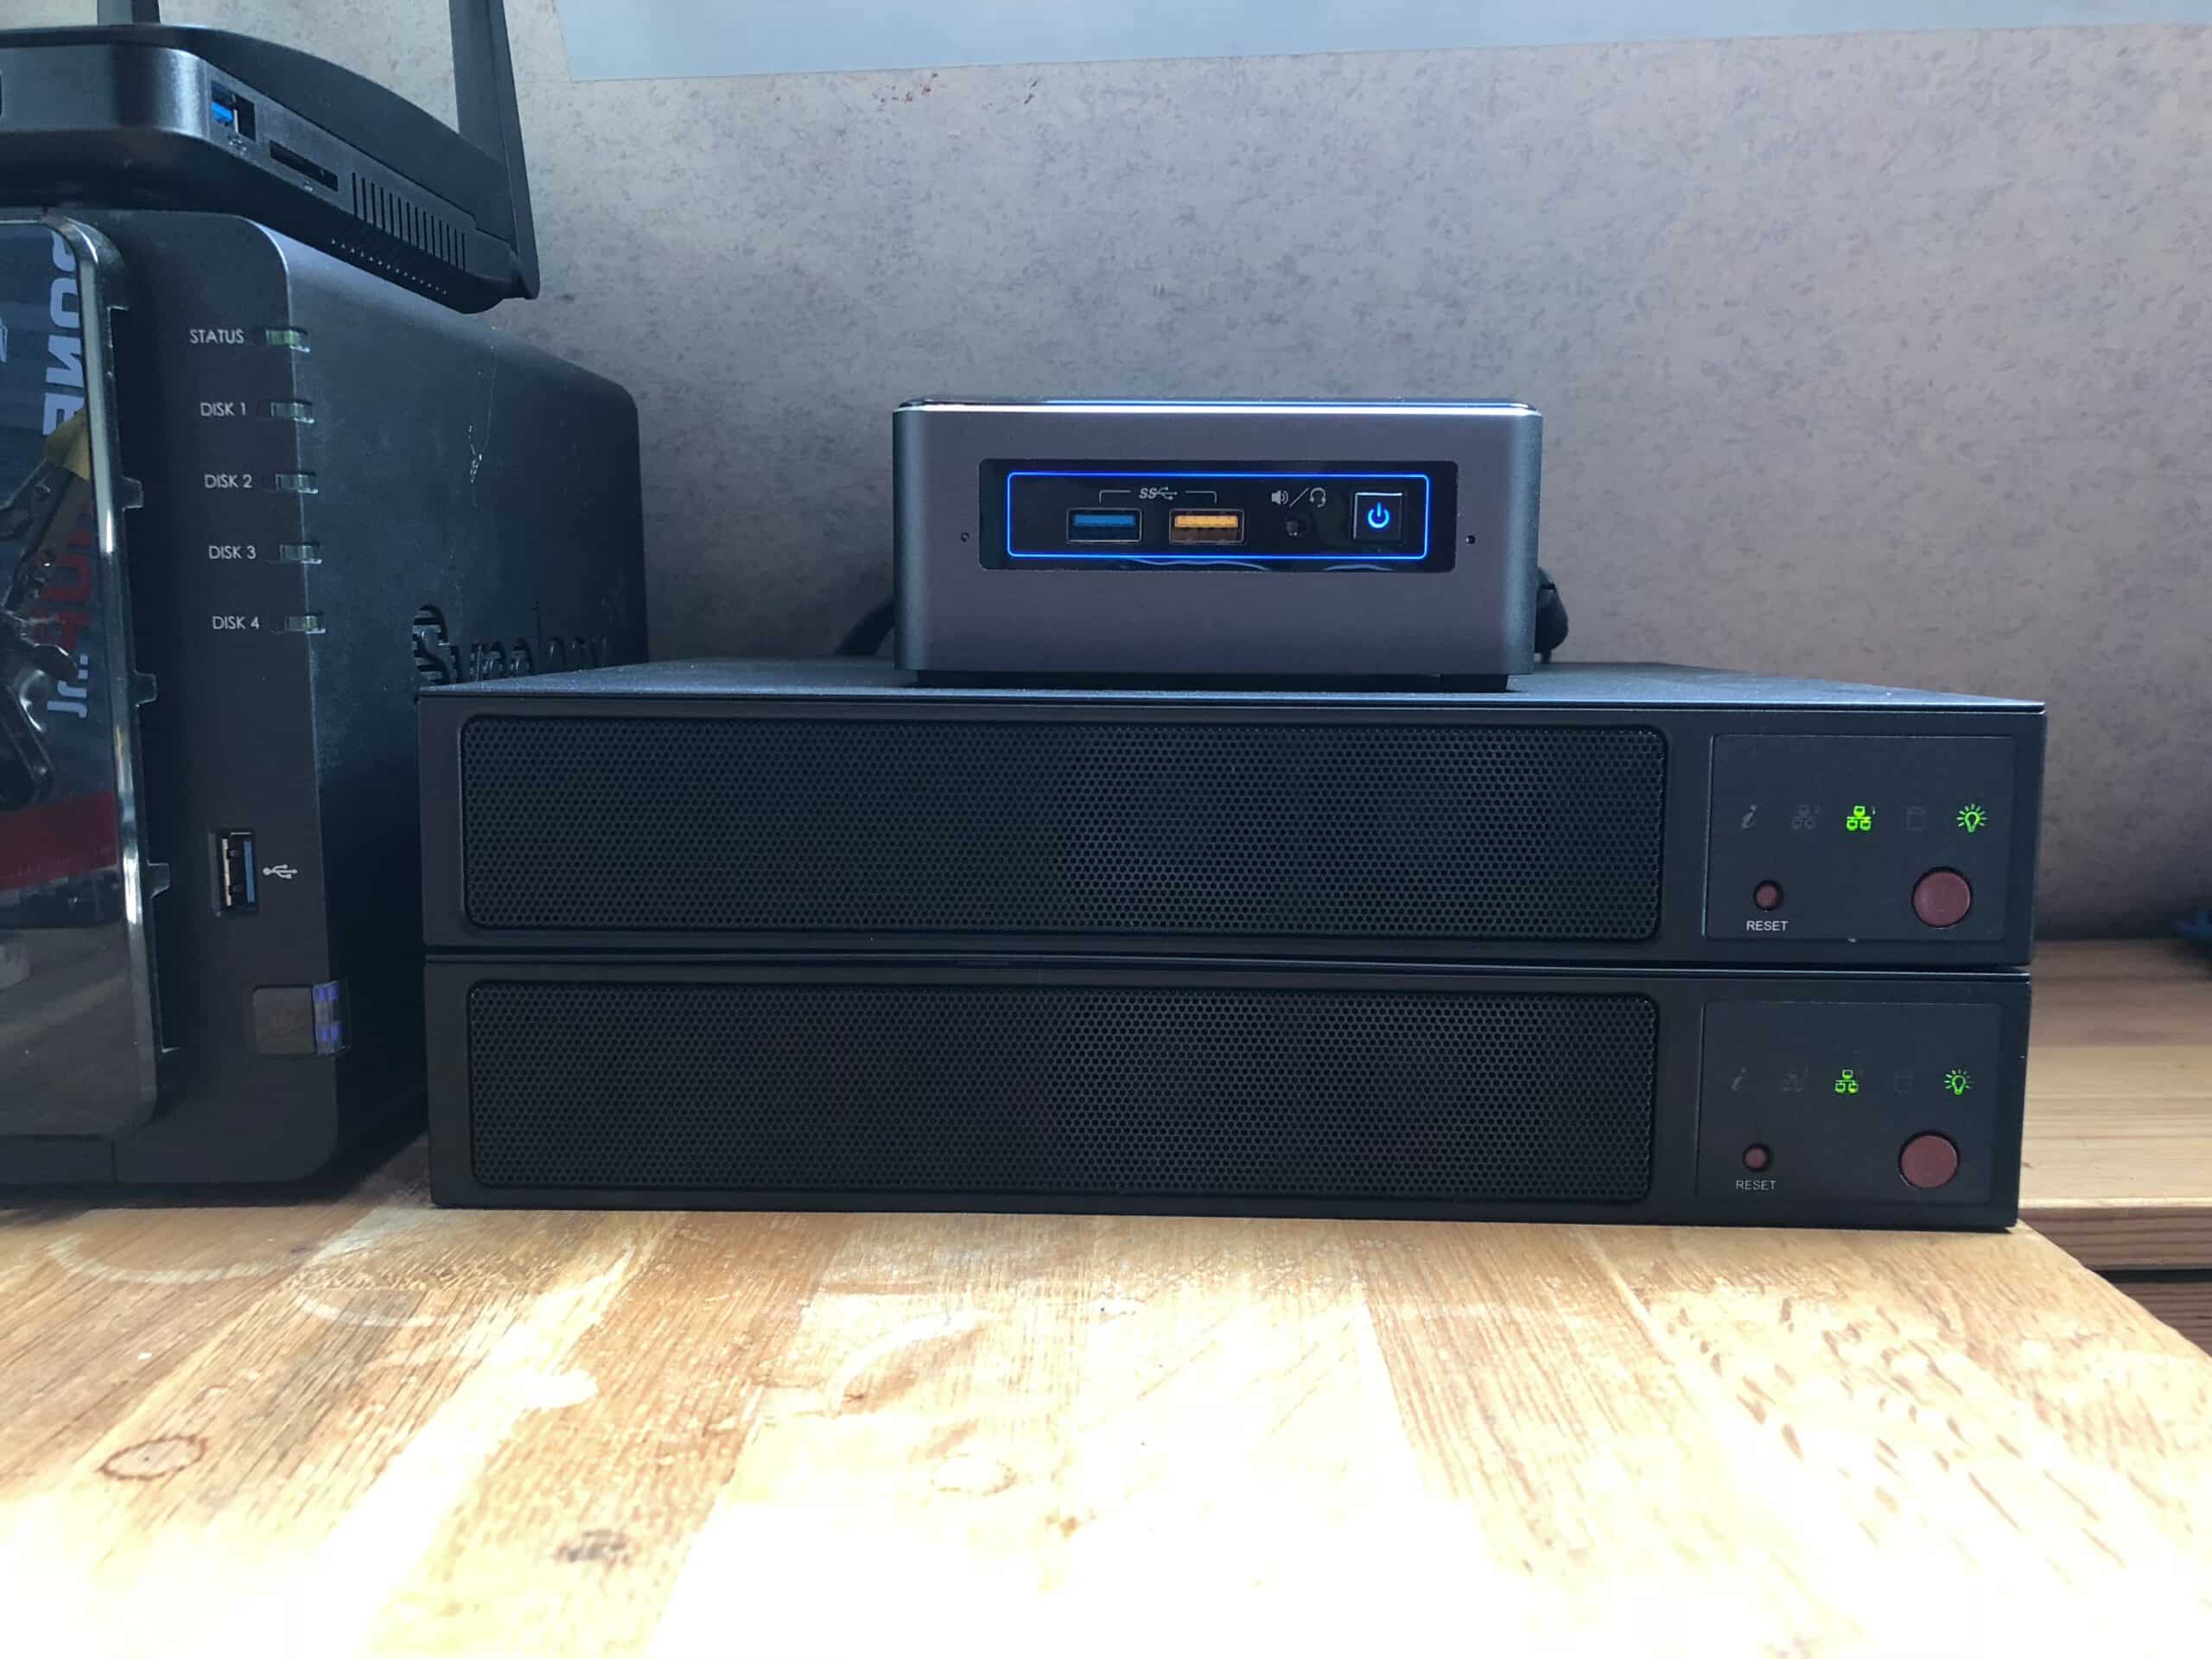
This is our 2018 build
The idea was to go fully physical and not nested. Nested has its pros but also cons.
Basically, nested has internal 10Gb Ethernet connections so you do not need expensive switching but setting up and upgrading can be a hassle. Where physical just works (with the right hardware) but requires expensive network 10Gb Ethernet hardware switching.
Here is were our build comes in. It's based on vSAN but on the 2 nodes direct attached solution from VMware. This is fully physical but does not require the expensive 10Gb Ethernet components! Yes, it is limited to 2 nodes but for a basic homelab, this is more than enough to run those lab workloads on physical hardware instead of nested. We also wanted the build to be low powered and to be able to shut down the 2 vSAN nodes to reduce more power.
Our build consists out:
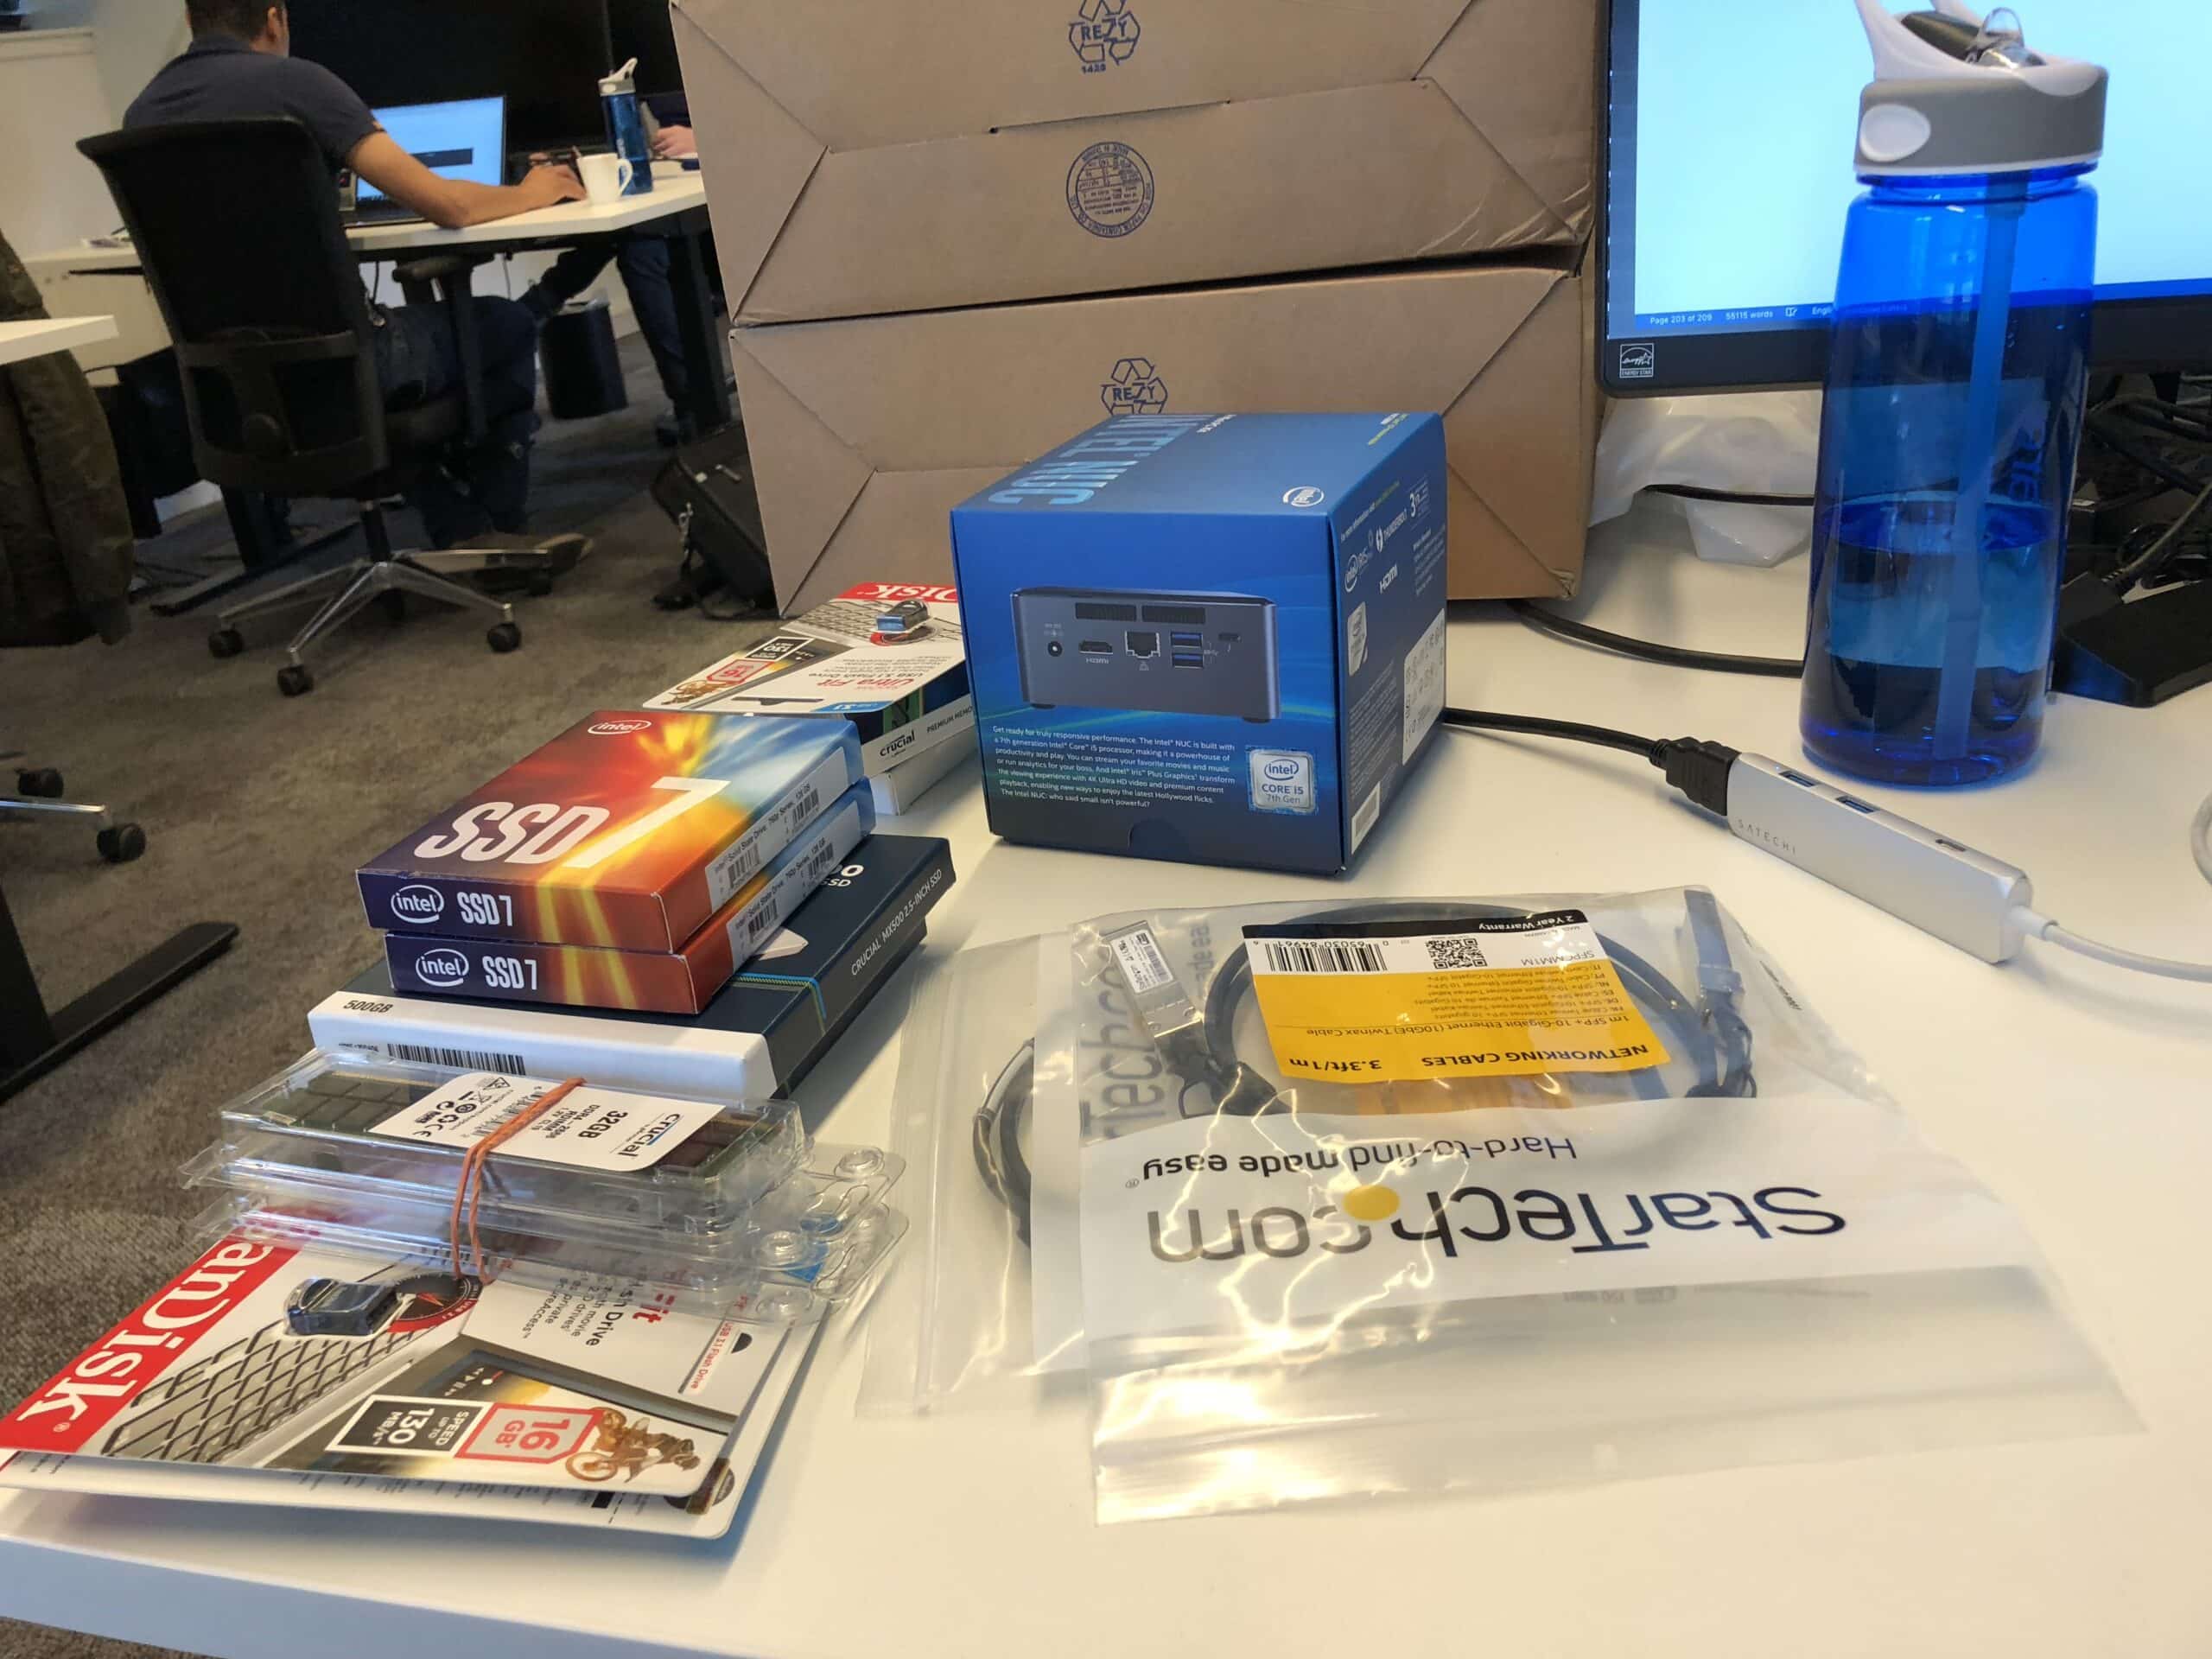
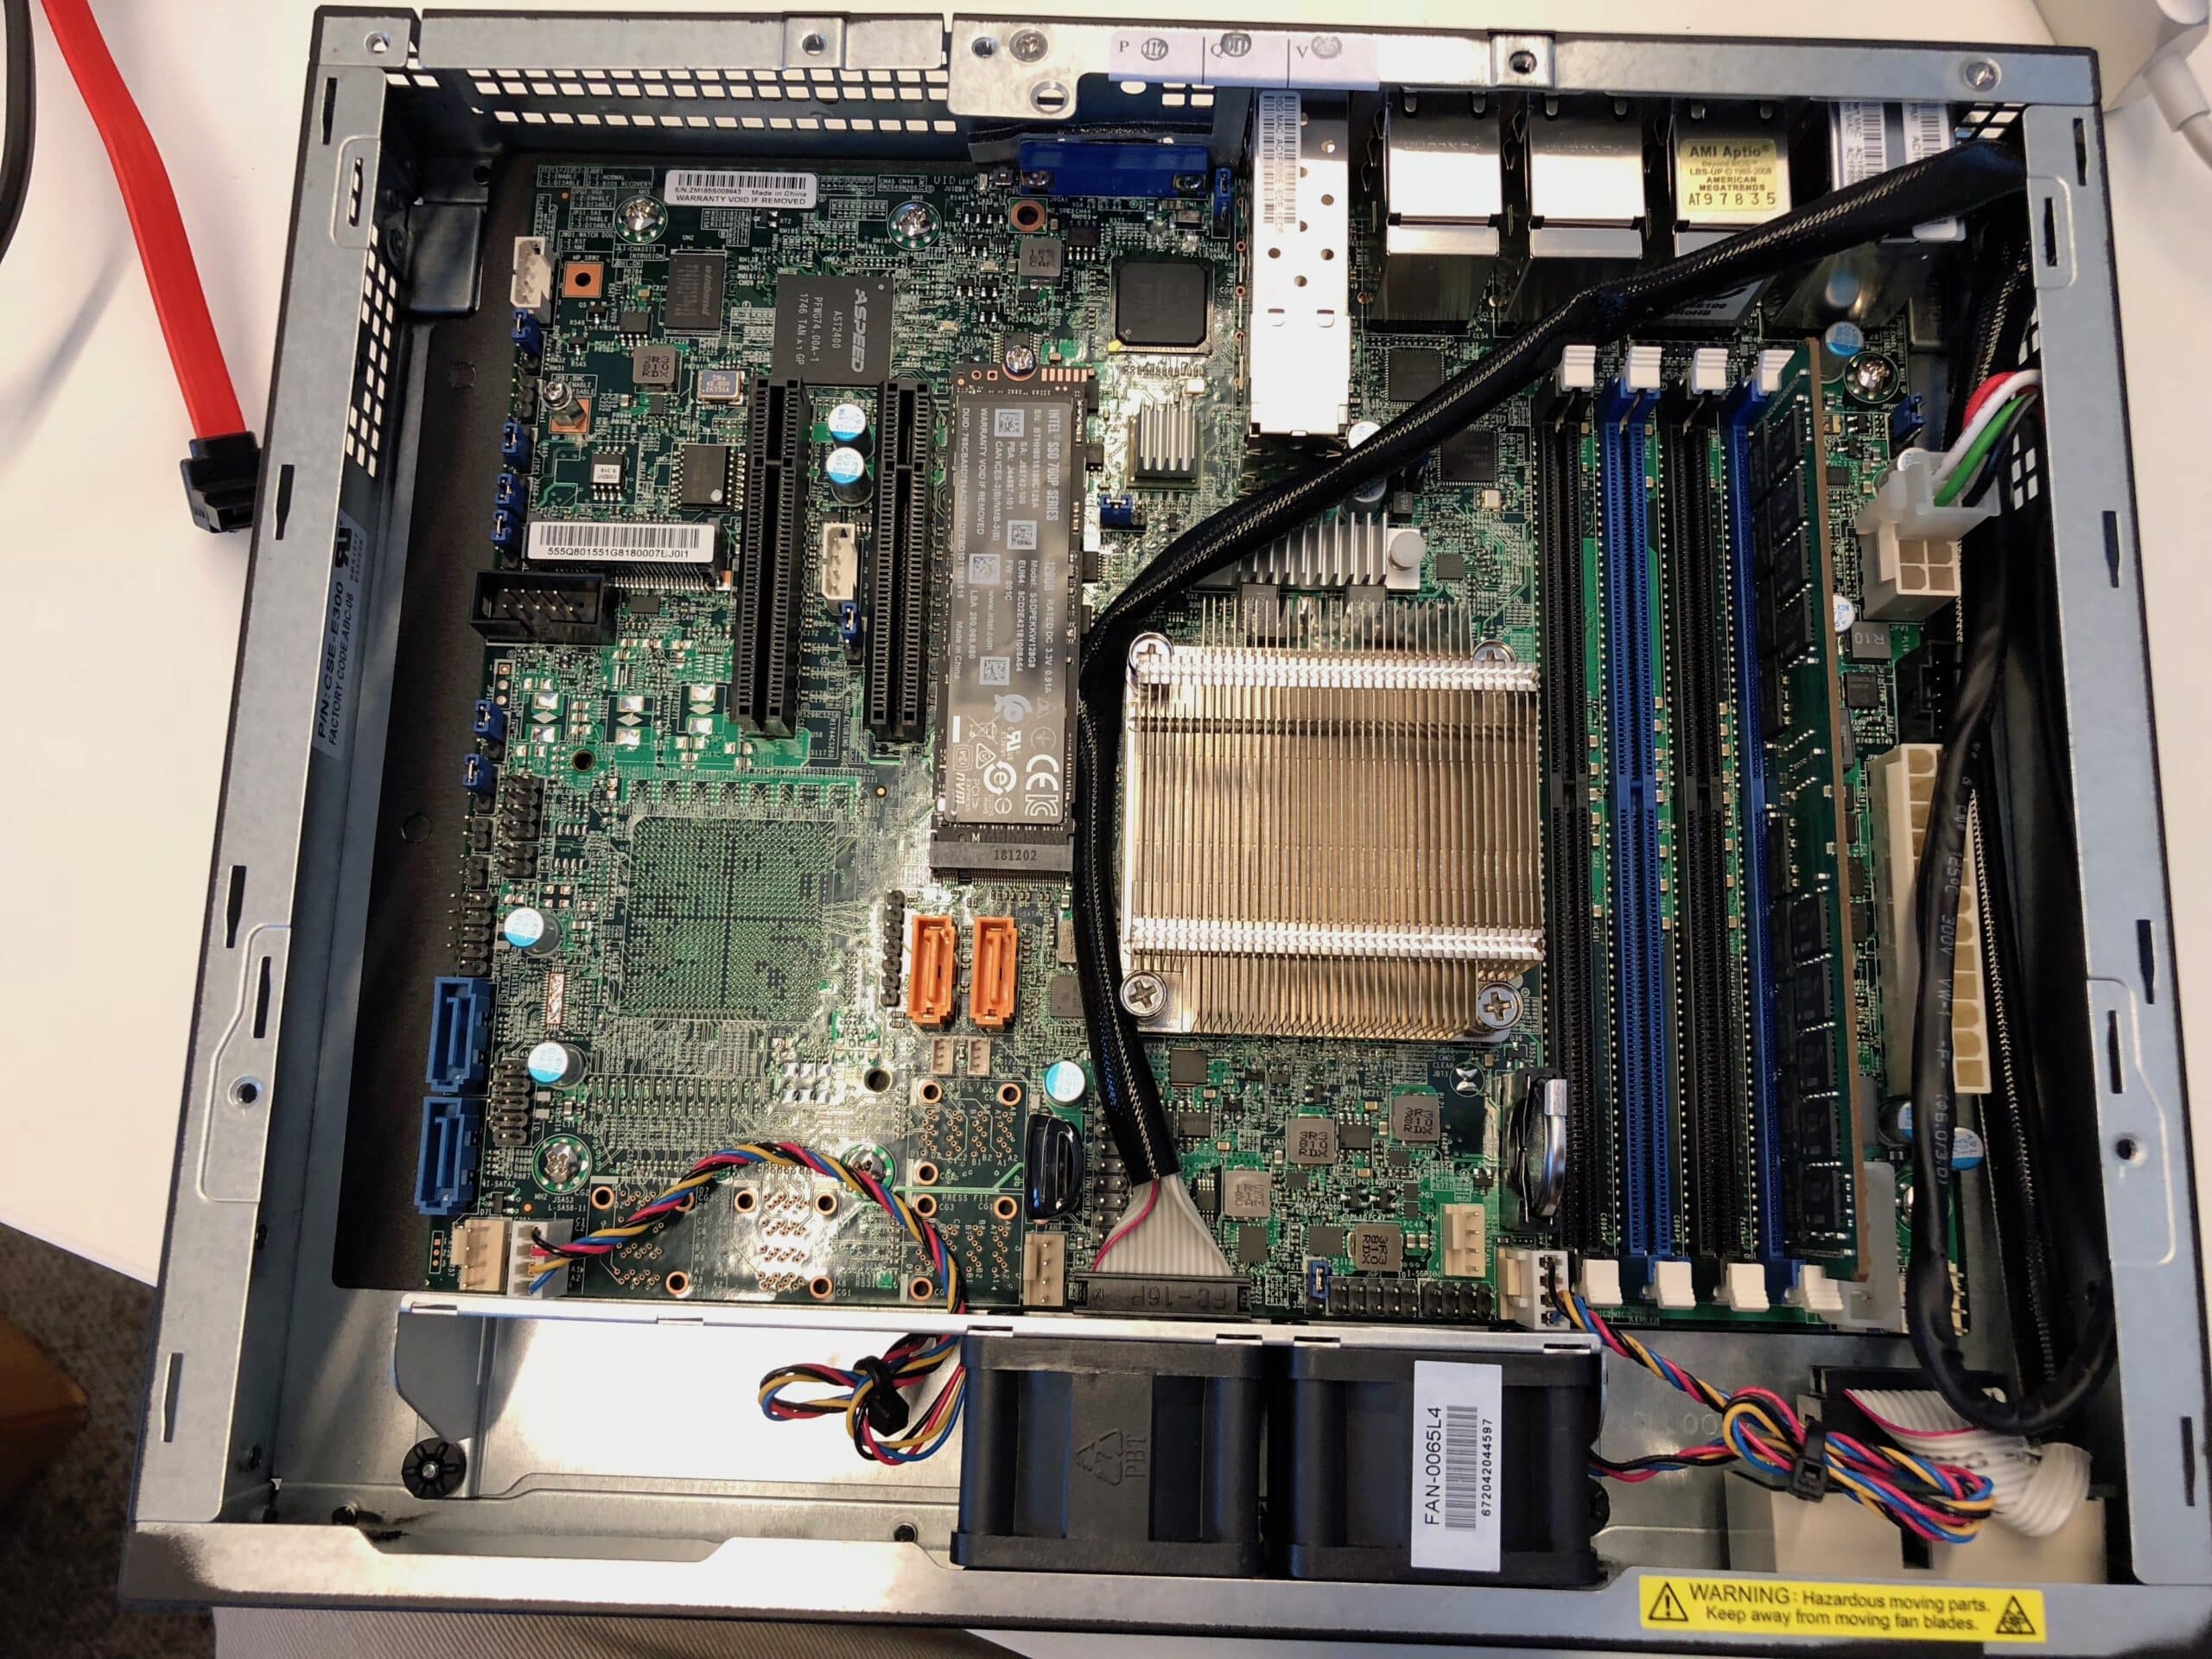
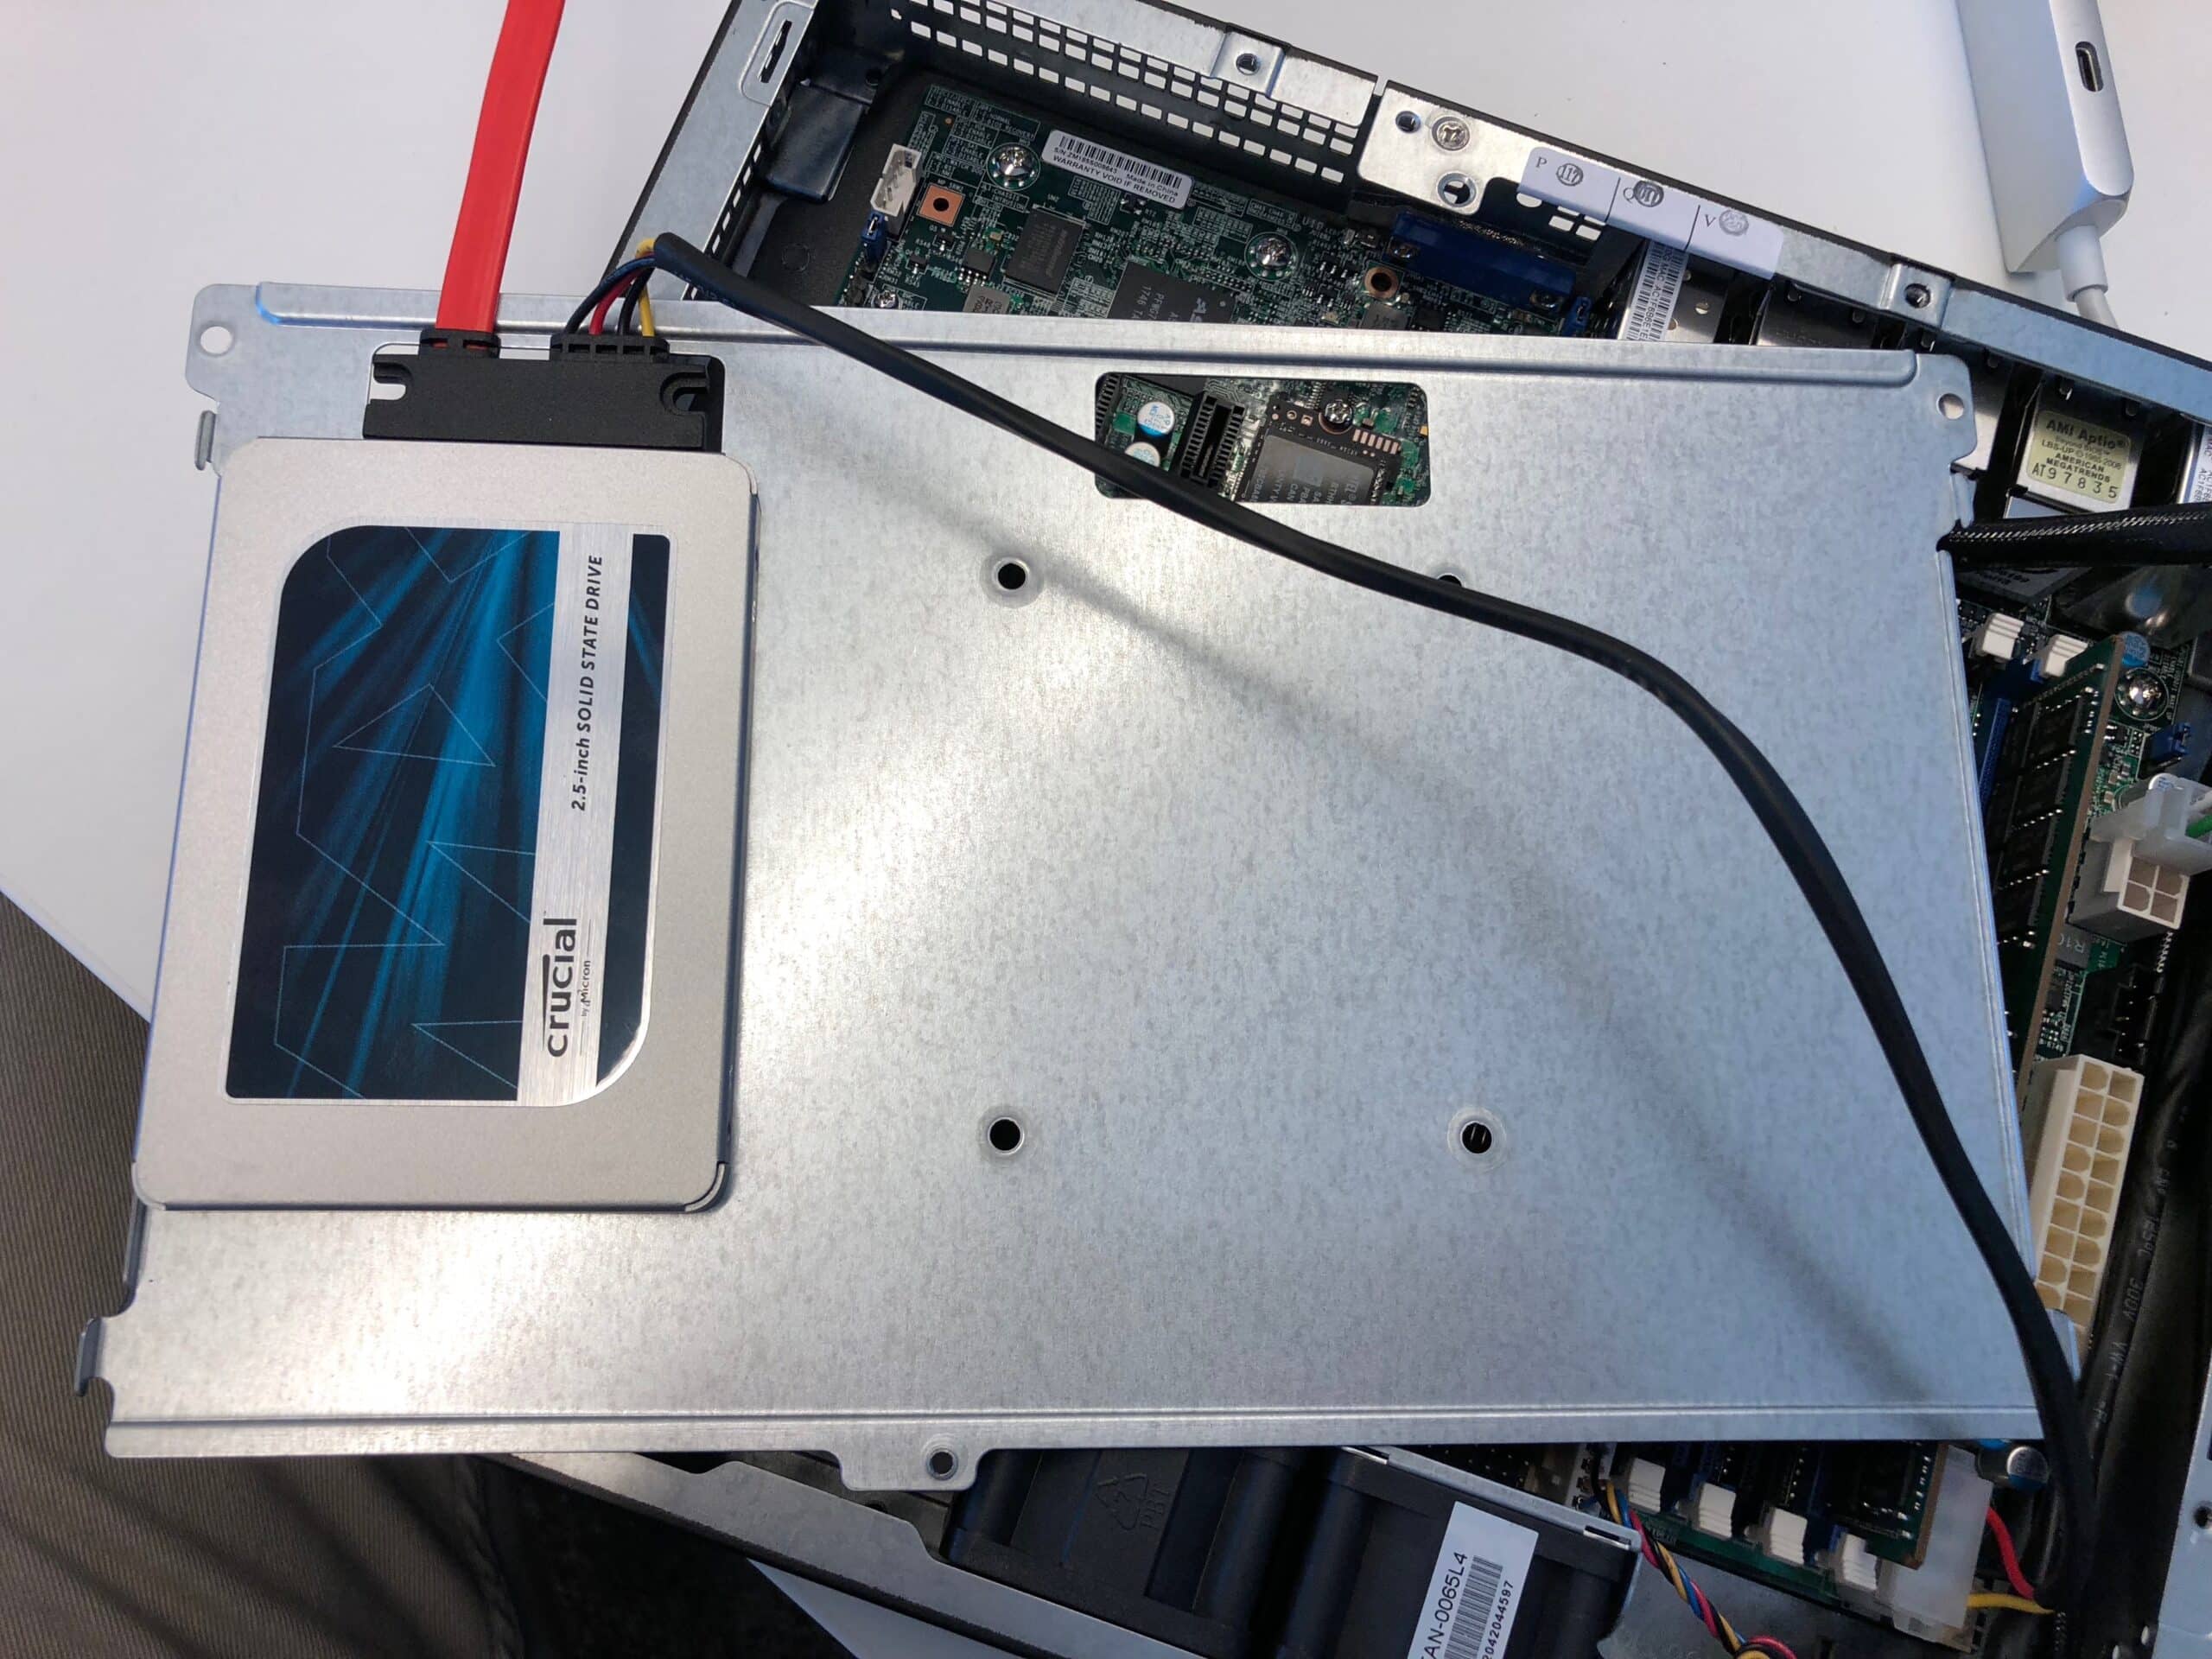
To run vSAN with 2 nodes we went with the below config. The Supermicro SYS E300-8D systems pack a punch in a small box. The Intel Xeon D-1518 has 4 cores and 8 threads on 2.20 GHz. TDP is only 35W. Has IMPI for that remote management we all love. It has 6 Gigabit ports and 2 SFP+ 10GbE ports. Those 2 10GB ports we will be using for the direct connection between the 2 vSAN nodes using SFP+ DAC cables. Both systems will be equipped with a single 32GB RDIMM. This can be expanded with 3 more RDIMMS to 128GB per node but memory is expensive these days... To install and boot ESXi we use a 16GB thumb drive we plugged into the system board onboard USB connector. For vSAN we use a 128GB NVME disk for the cache tier and a 500GB SATA SSD for the capacity tier. These nodes will run the workload VM.
| vSAN Hosts | Number |
|---|---|
| Supermicro Mini-1U D1518 1SFF E300-8D | 2 |
| Sandisk Ultra Fit 16GB USB3.0 | 2 |
| StarTech.com 1m Cisco Compatible SFP+ | 2 |
| Crucial RDIMM DDR4-2666 32GB DR x4 | 2 |
| Crucial MX500 500GB SATA6G 2.5" 7mm | 2 |
| Intel SSD 760p 128GB NVMe M.2 80mm | 2 |
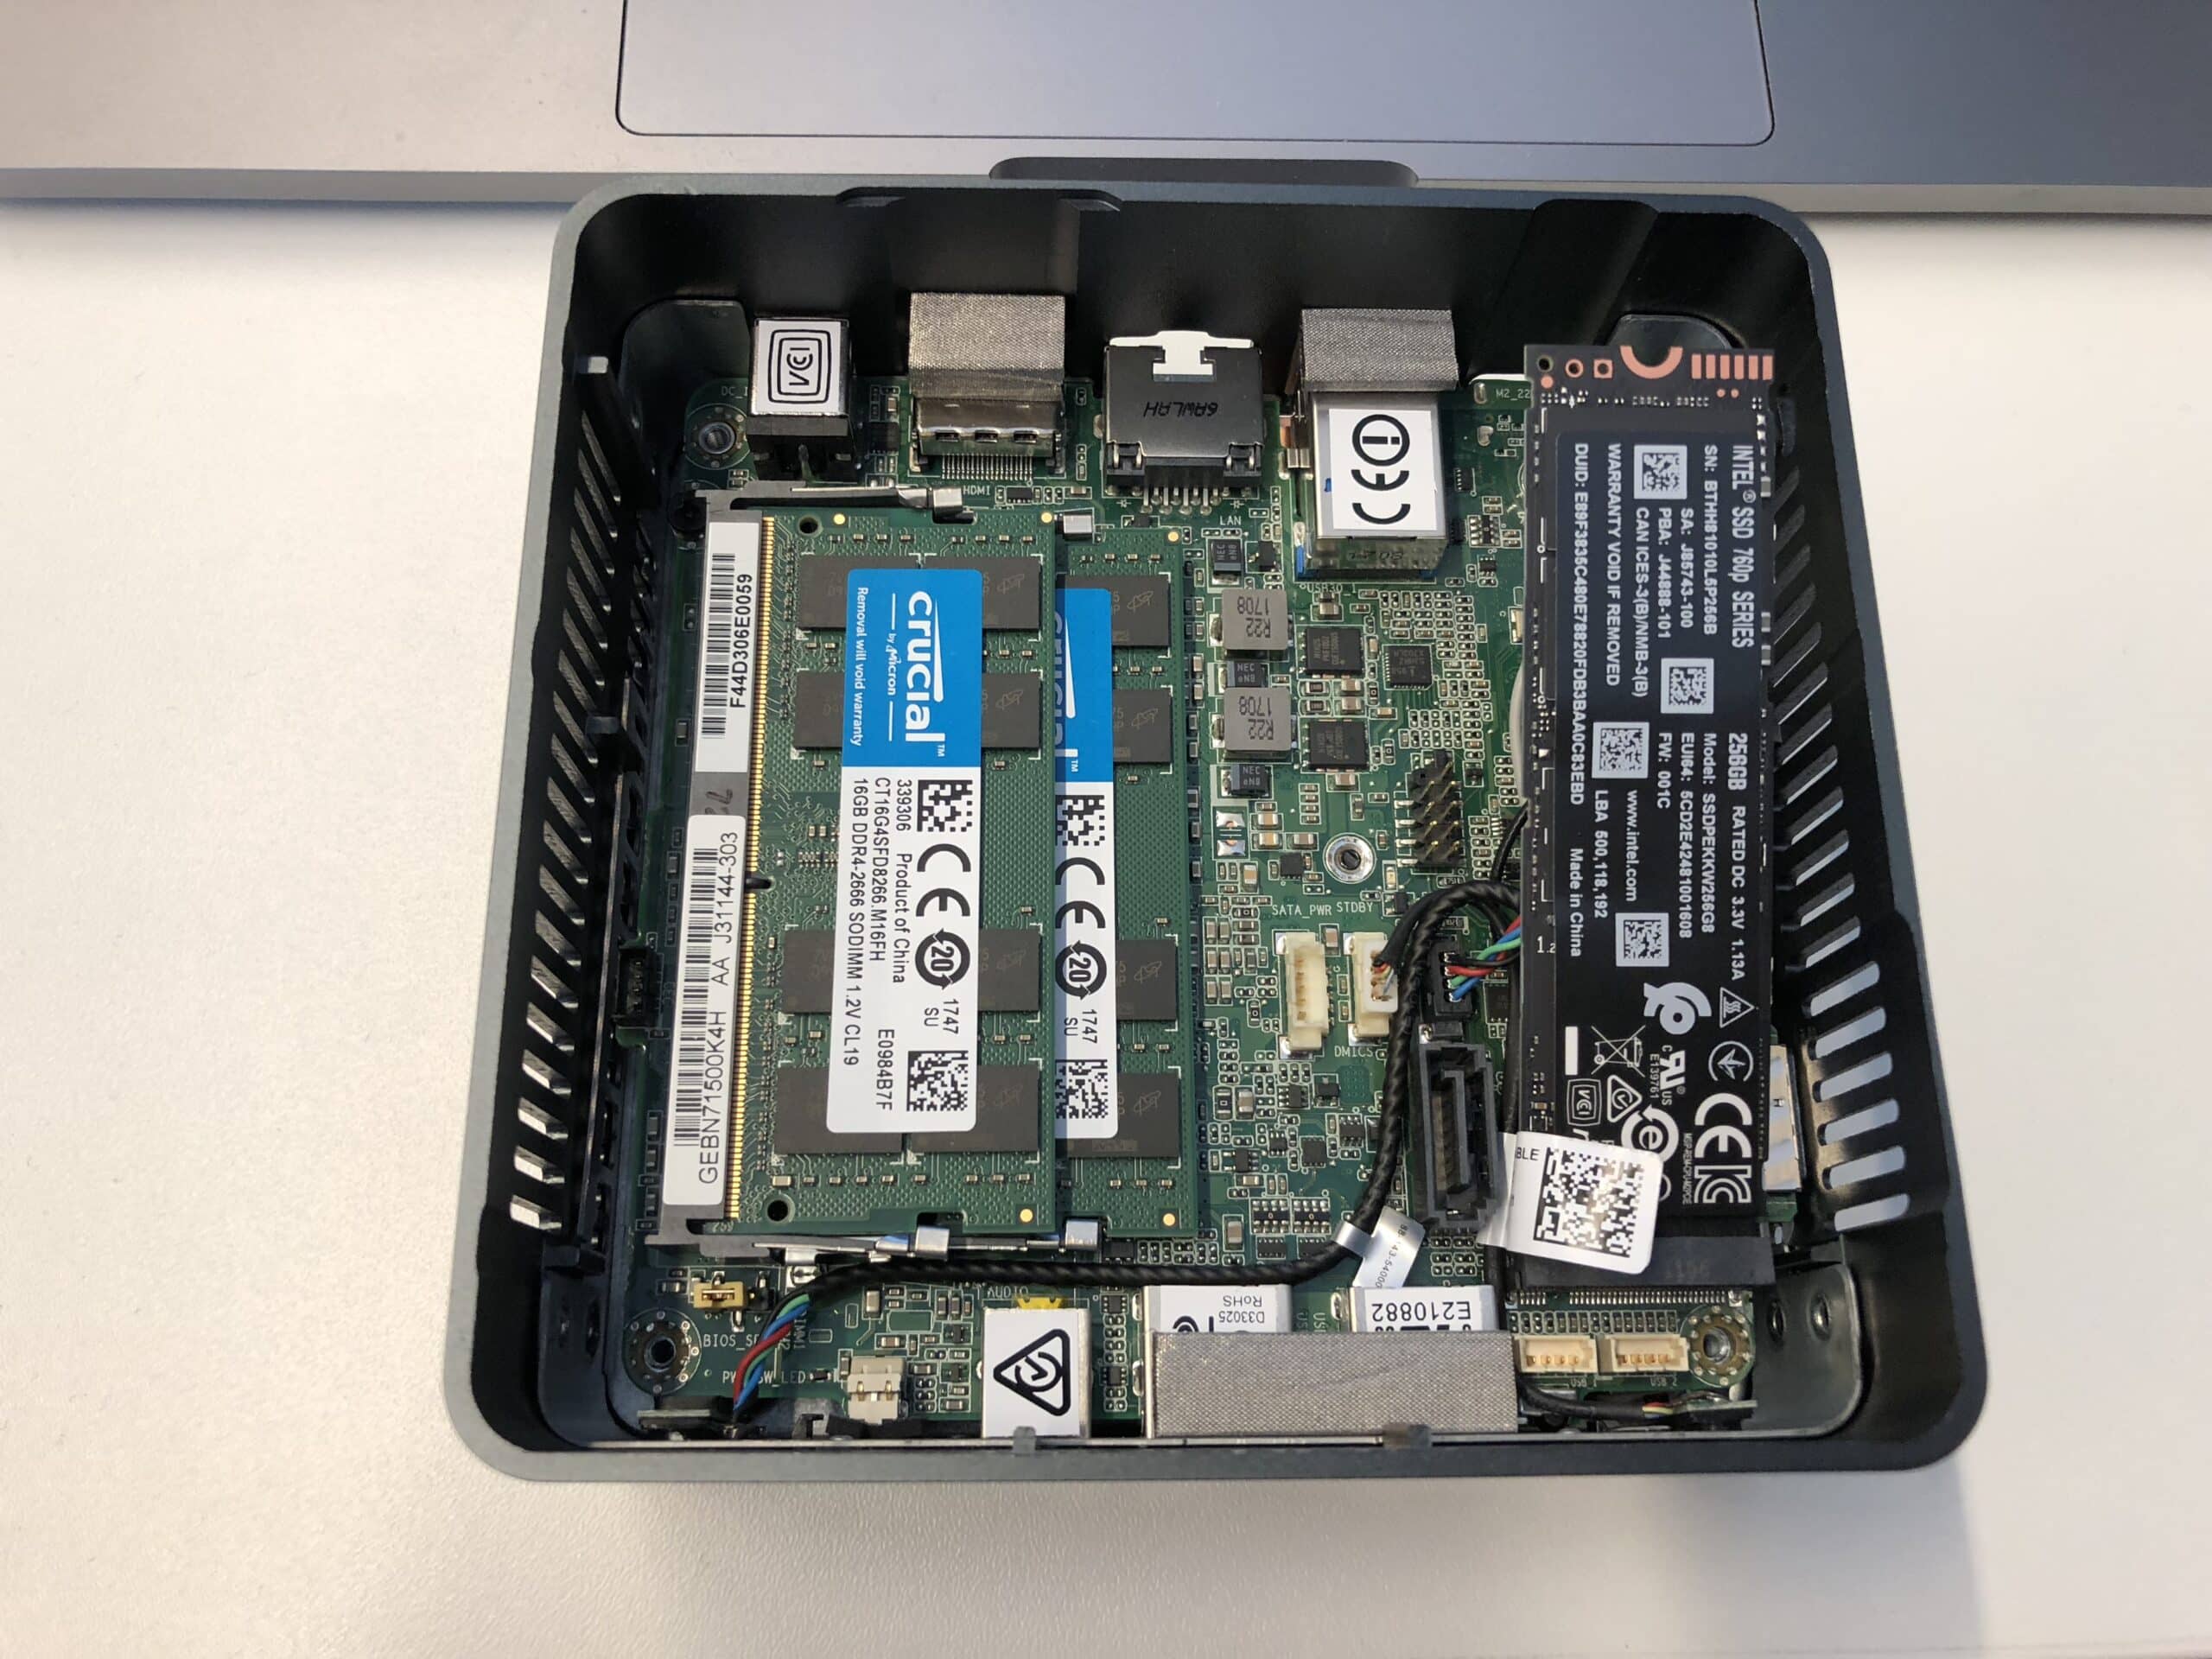
For the management host, we went with the config below. It also had to be low powered but must have at least 32GB of memory. We chose an Intel NUC7 system with an i5-7260U CPU. This has 2 cores and 4 threads on 2.20 GHz but can boost up to 3.40 GHz. Loaded it up with 32GB of DDR4 memory and used a 256GB NVME SSD to put on the few management VM needed. Also, ESXi is installed and booted from a 16GB thumb drive. It only has one NIC but for the management host, this is not really an issue. If you really need that extra NIC on the NUC you can use a USB-C to Gigabit Ethernet Adapter and the drivers from William Lam.
This management host will only run:
- vCenter 6.7 (tiny deployment)
- vSAN witness host (medium deployment)
- Windows 2016 Server with AD/DNS/PKI
- Management / Jump Host
For this, there is plenty of memory.
| Management Host | Number |
|---|---|
| Intel NUC7-BN i5-7260U M.2 + 2.5" HDMI/USB | 1 |
| Sandisk Ultra Fit 16GB USB3.0 | 1 |
| Crucial SODIMM DDR4-2666 32GB Kit | 1 |
| Intel SSD 760p 256GB NVMe M.2 80mm | 1 |
During the build and setup
Building this is really straightforward. All hardware works great on vSphere 6.7. To install ESXi on these systems use a USB thumb drive prepared via Rufus with the latest ESXi 6.7 iso. Use this guide. Use a different brand of USB drive to install from, otherwise installing from USB to USB will not work. Something to do with the device ID's being the same. Below a video of installing ESXi from USB to USB on the Intel NUC7.
[video width="1920" height="1080" m4v="https://itq.eu/wp-content/uploads/2018/07/IMG_1470.m4v"][/video]
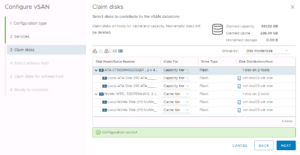
For vSAN you need to ignore one warning that the controller firmware is not supported. This can be easily disabled via RVC. Use: "vsan.health.silent_health_check_configure -a controlleronhcl ~VSAN" via RVC on vCenter and the message will be muted. No other warnings are there. Just this firmware message. After that, you will have all green checkboxes! All disks can be claimed for the vsanDatastore :)

Benchmarks, we all love them
Of course one needs to benchmark this setup. You want to really see the performance metrics. To benchmark vSAN we used HCIBench. You never heard of this? What is this tool you ask? well:
HCIBench stands for "Hyper-converged Infrastructure Benchmark". It's essentially an automation wrapper around the popular and proven VDbench open source benchmark tool that makes it easier to automate testing across an HCI cluster. HCIbench aims to simplify and accelerate customer POC performance testing in a consistent and controlled way. The tool fully automates the end-to-end process of deploying test VMs, coordinating workload runs, aggregating test results, and collecting necessary data for troubleshooting purposes. HCIBench is not only a benchmark tool designed for vSAN, but also could be used to evaluate the performance of all kinds of Hyper-Converged Infrastructure Storage in vSphere environment.
To test the lab we used a custom profile and this was the result:
Datastore: vsanDatastore
=============================
Run Def: RD=run1; I/O rate: Uncontrolled MAX; elapsed=300; For loops: None
VMs = 4
IOPS = 24660.00 IO/s
THROUGHPUT = 96.33 MB/s
LATENCY = 2.5587 ms
R_LATENCY = 1.0152 ms
W_LATENCY = 6.1395 ms
95%tile_LAT = 773.1713 ms
=============================
Resource Usage:
CPU USAGE = 67.45%
RAM USAGE = 55.0%
VSAN PCPU USAGE = 28.9307%
=============================
The full results can be downloaded here.
Conclusion
We built a pretty nice and decent performing homelab. Total idle power consumption is below 65W! To even reduce more power you can power down both vSAN nodes and still have management up and running to power them back on. This setup is our go to, loan a Lab system for our consultants to test all they want and to keep up to speed with all those new VMware products and updates.