In the previous post, we wrote about a 2 Node vSAN homelab solution.
Below we will continue on this blog to make that setup mobile and transportable.
This is in our case very useful to use it for on-site demos or live presentations and of course for safe transport to home. Also, it will be only requiring one power outlet and an uplink to your home network.
Making it mobile
Let's talk about transportation. There are many ways of transporting goods but we want it to be properly transported and must withstand some beating... This is being put into car booths and rolled over and over to where ever it's needed. It's safe to say that it must survive this.
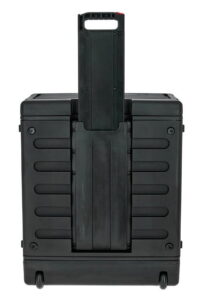
We will be building a mobile solution in a 4U transport case, the SKB R4UW Roto Rolling Rack.
Rack with Roll Function
- 4 U
- With "one-touch" pull handle
- Mounted wheels on the ground
- Lid and bottom removable
- Rack rail front and back
- Butterfly locks
- 2 Handles
- Waterproof
- Hard plastic housing
- Inside dimensions (W x H): 48.26 x 17.78 cm
- Outside dimensions (T x W x H): 67.31 x 57.15 x 29.21 cm
- Weight 10.43 kg
- Colour: Black

| Mobile lab kit list | Number |
|---|---|
| SKB R4UW Roto Rolling Rack | 1 |
| Thon Rack Adapter 1U 25 | 2 |
| the t.racks Power 8 S | 1 |
| Adam Hall 87221VR Rack Plate | 4 |
| Adam Hall 5410BLK Rack Screw Pack | 3 |
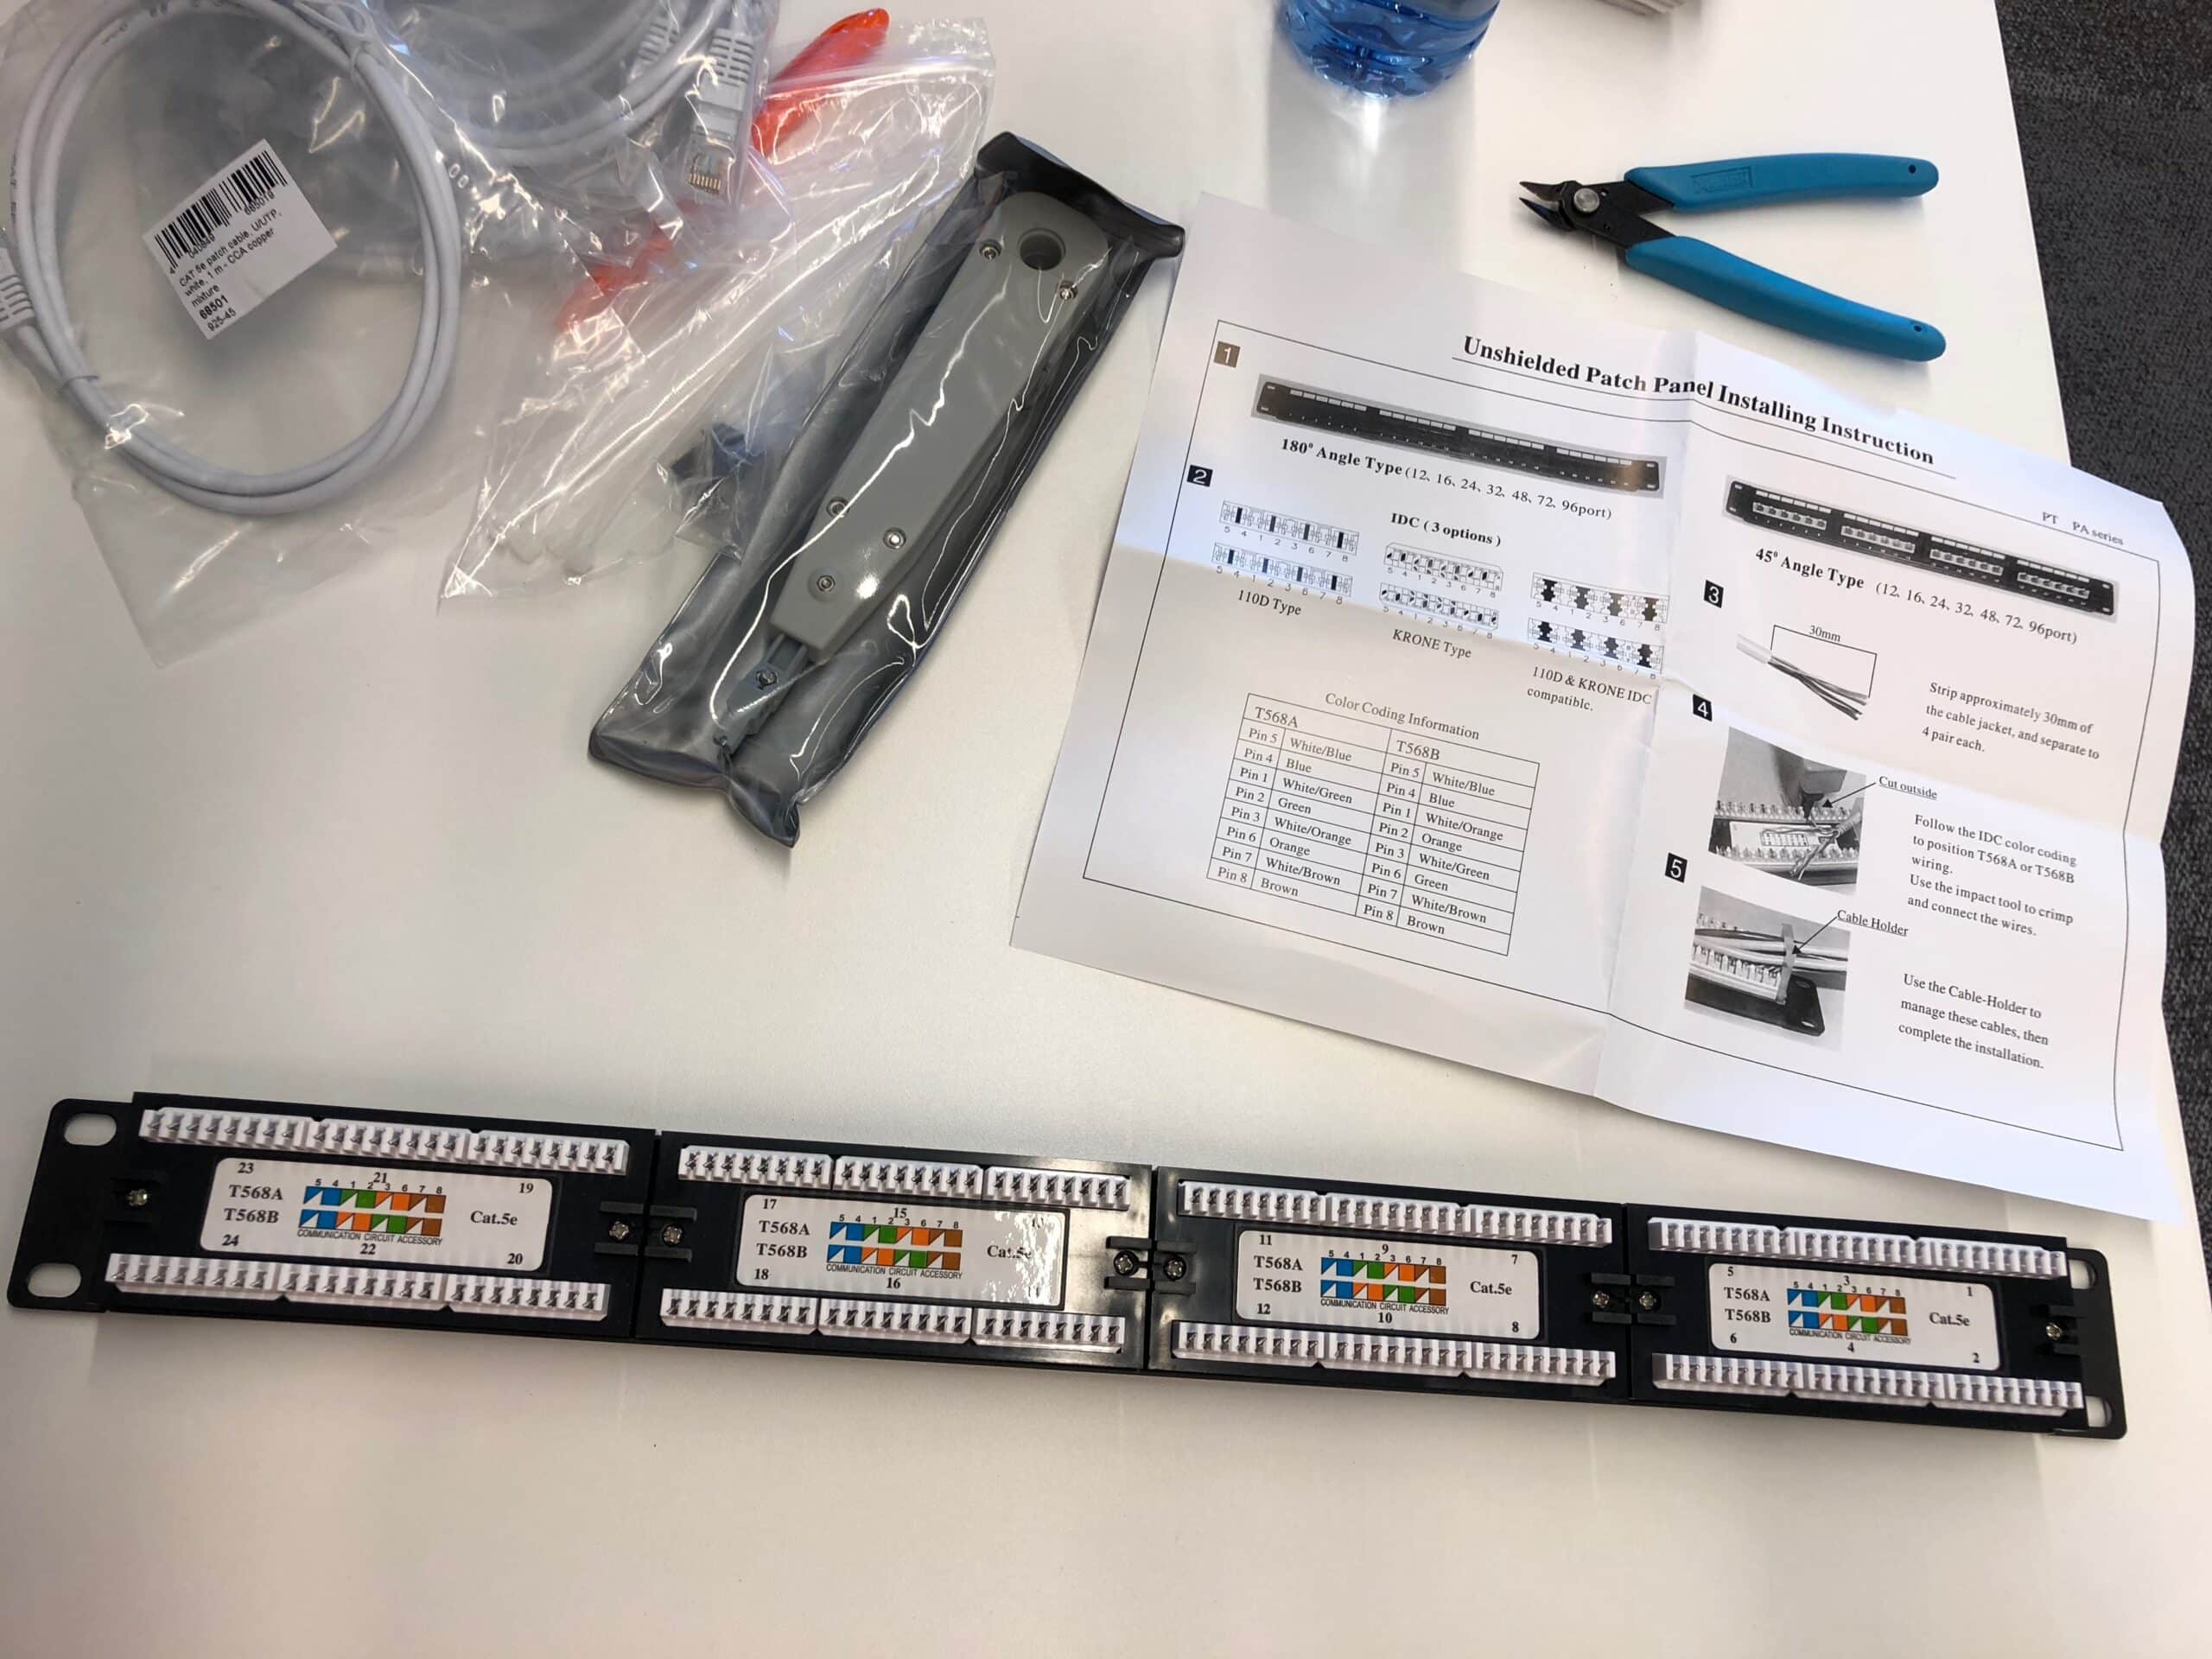
| 24 port 1Gbit patch panel | 1 |
| Cat5e 25CM | 24 |
| Cat5e 1M | 24 |
| LSA Patch tool | 1 |
| TP Link TL-SG1024DE 24Port switch | 1 |
| 140MM fans | 3 |
| Router with or without wifi | 1 |
You could use a CAT6 patch panel and CAT6 cables to future proof it for 10GBit but this will make the build more expensive. Since we are only using 10GBit on the SFP+ ports for direct connection between the two nodes it's kinda overkilling to go full on CAT6 on this build.
Or you could do this without a patch panel and just wire all up
Let's build this
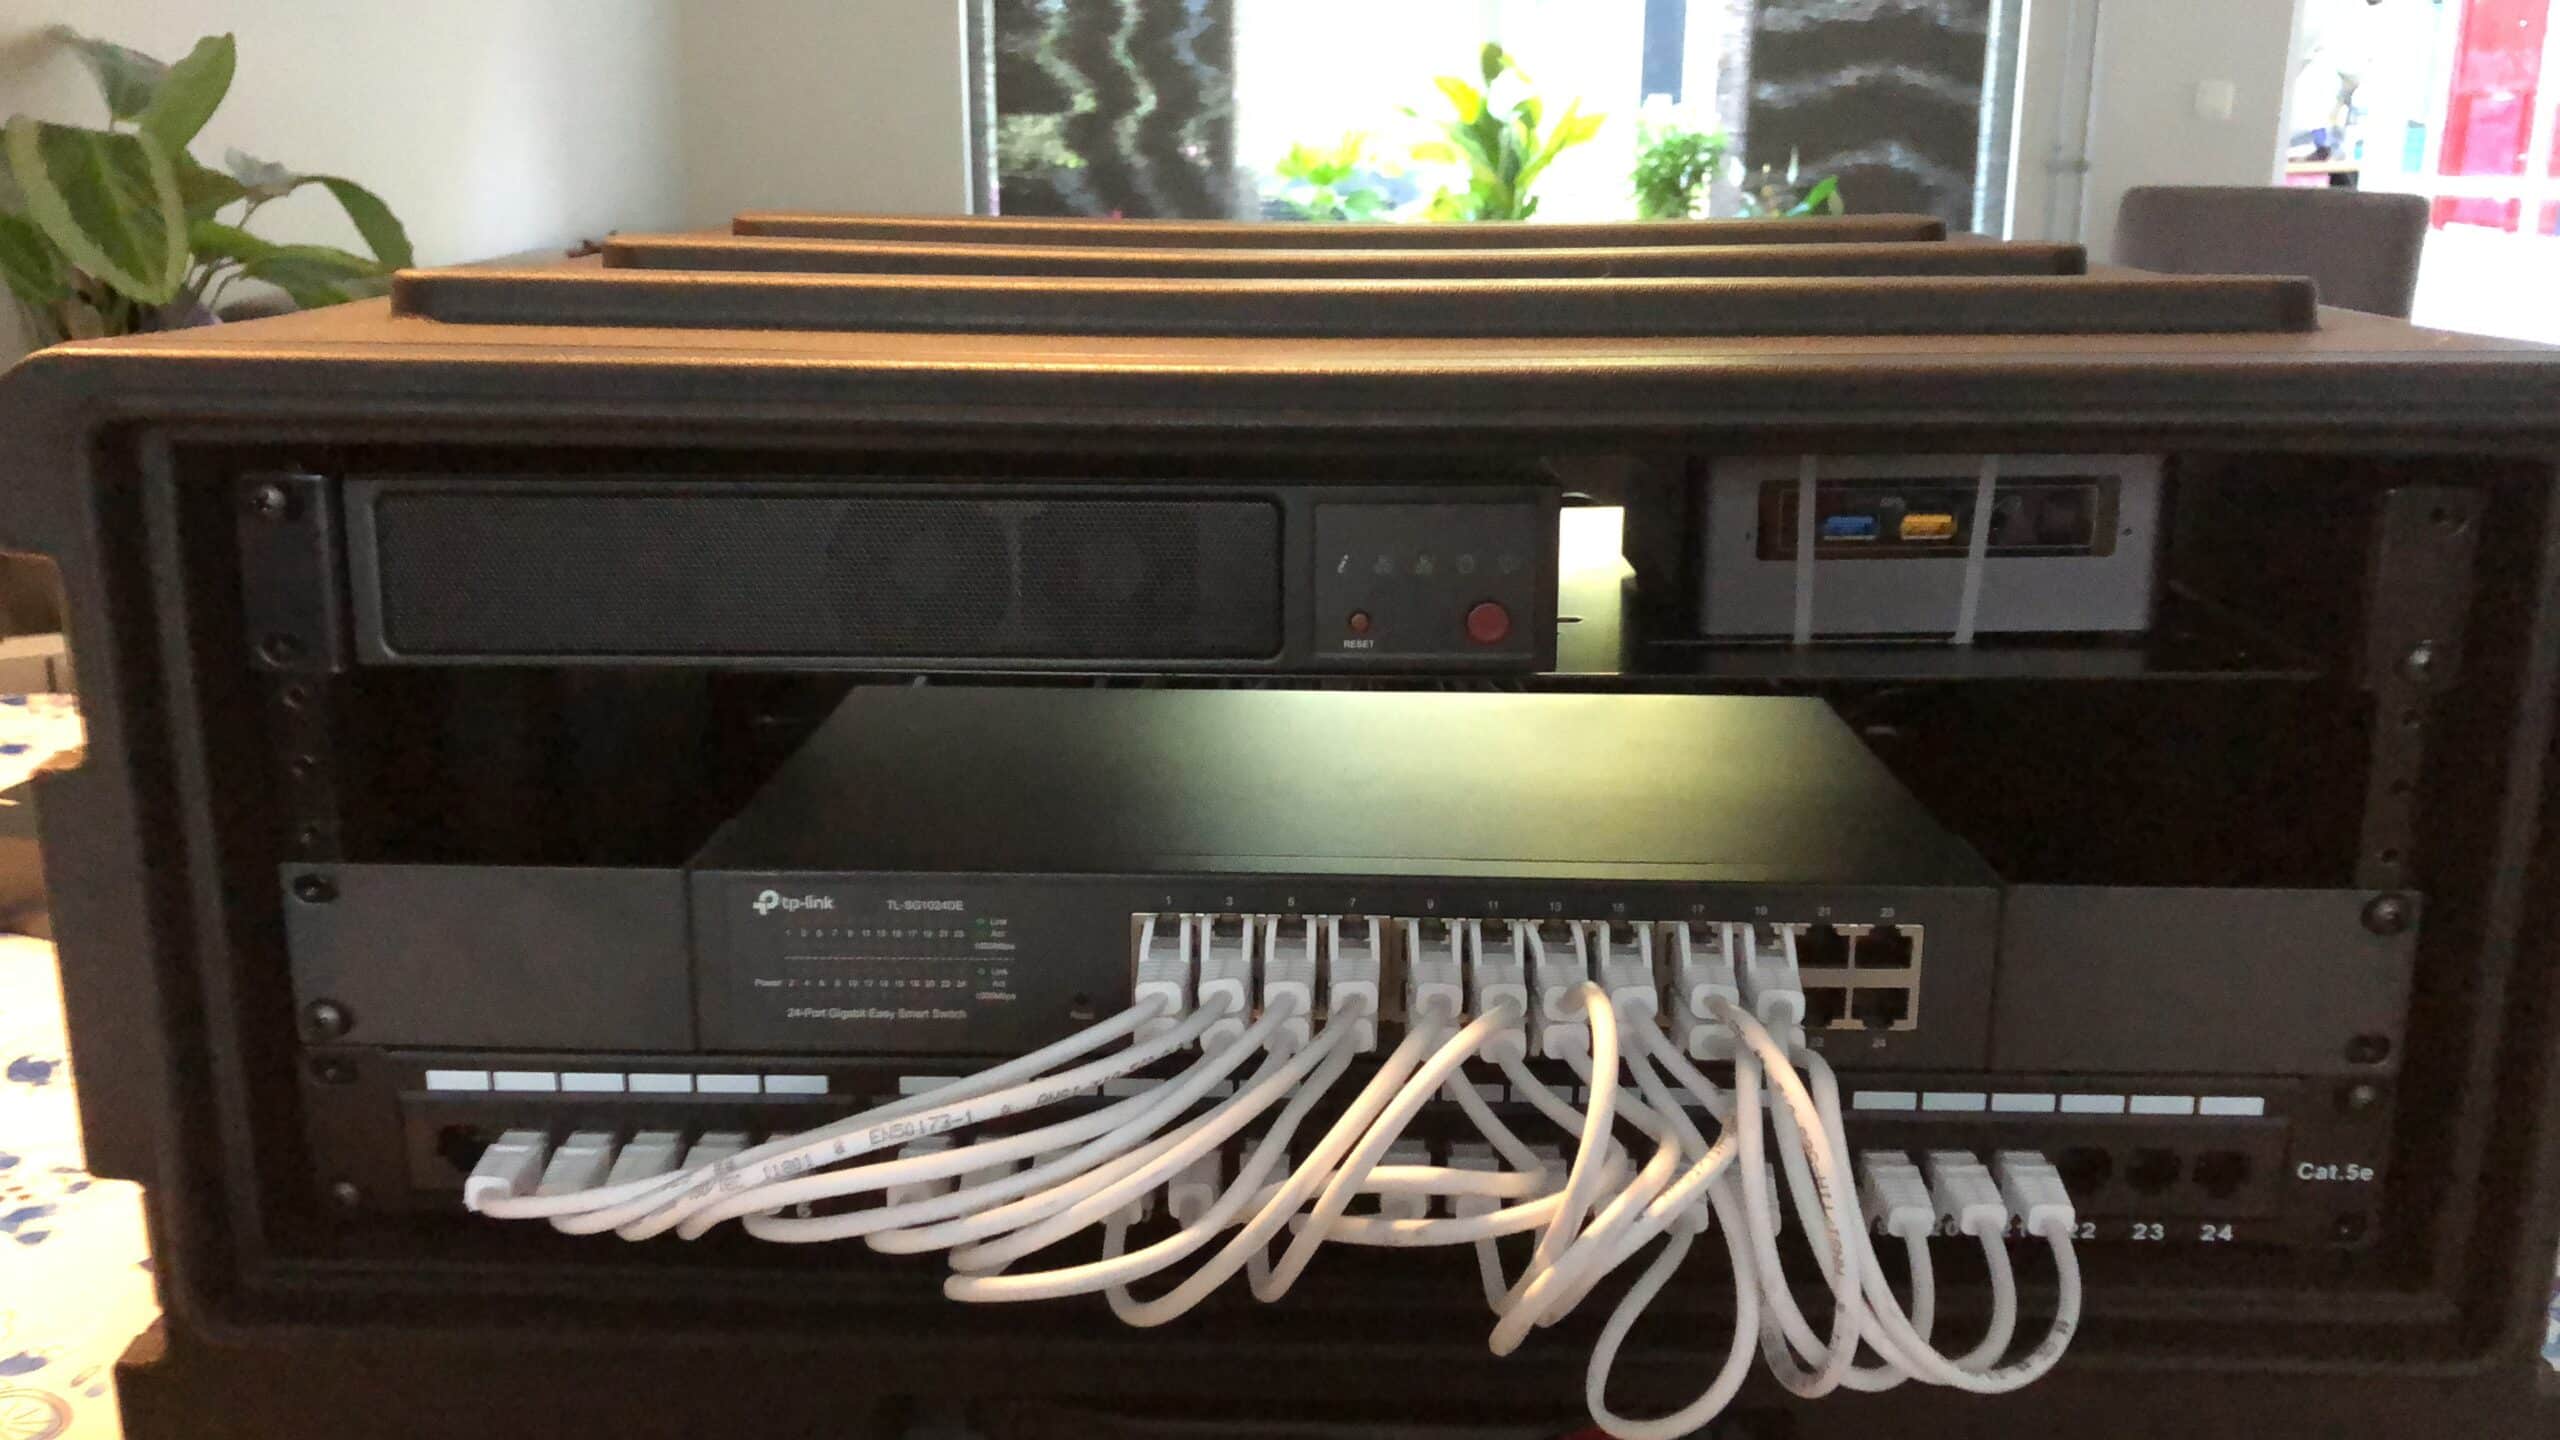
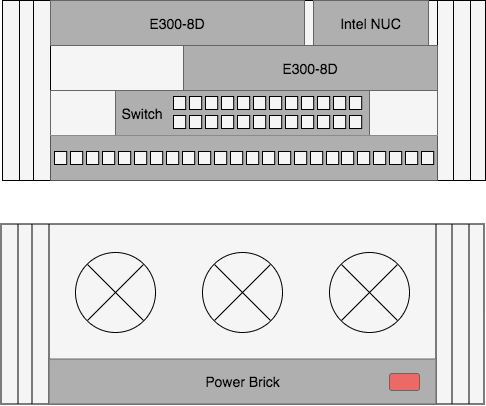
First, we need a proper design on how to put all that lab hardware in the Roto Rolling Rack.
We only have 4U of mobile rack space so we need to fit it all in. Mount the hardware from the top so when you transport it, gravity, 1U brackets, and screws will help to keep the hardware in place.
Also made a table for all patched NICS on the E300-8D and NUC.
| Patch | Backend | VMInfo | Role |
|---|---|---|---|
| 1 | Wan port router | Uplink from home router | |
| 2 | Lan port router | Uplink to switch | |
| 3 | |||
| 4 | NUC NIC 1 | vmnic0 | Managment |
| 5 | NUC NIC 2 (USB) | vmnic32 | vMotion |
| 6 | IPMI E300-8D | IPMI | |
| 7 | NIC 0 E300-8D | vmnic0 | Managment |
| 8 | NIC 1 E300-8D | vmnic1 | Managment |
| 9 | NIC 2 E300-8D | vmnic2 | vMotion |
| 10 | NIC 3 E300-8D | vmnic3 | vMotion |
| 11 | NIC 4 E300-8D | vmnic4 | NSX |
| 12 | NIC 5 E300-8D | vmnic5 | NSX |
| 13 | NIC 0 E300-8D | vmnic0 | Managment |
| 14 | NIC 1 E300-8D | vmnic1 | Managment |
| 15 | NIC 2 E300-8D | vmnic2 | vMotion |
| 16 | NIC 3 E300-8D | vmnic3 | vMotion |
| 17 | NIC 4 E300-8D | vmnic4 | NSX |
| 18 | NIC 5 E300-8D | vmnic5 | NSX |
| 19 | IPMI E300-8D | IPMI | |
| 20 | |||
| 21 | |||
| 22 | |||
| 23 | |||
| 24 | |||
| SFP+ | NIC 6 E300-8D | vmnic5 | vSAN |
| SFP+ | NIC 7 E300-8D | vmnic6 | vSAN |
This picture illustrates the back side of the Supermicro E300-8D and the networking port numbering.
The two SFP+ connectors we used for direct connection between the two E300-8D nodes so no patching or switching required for that.

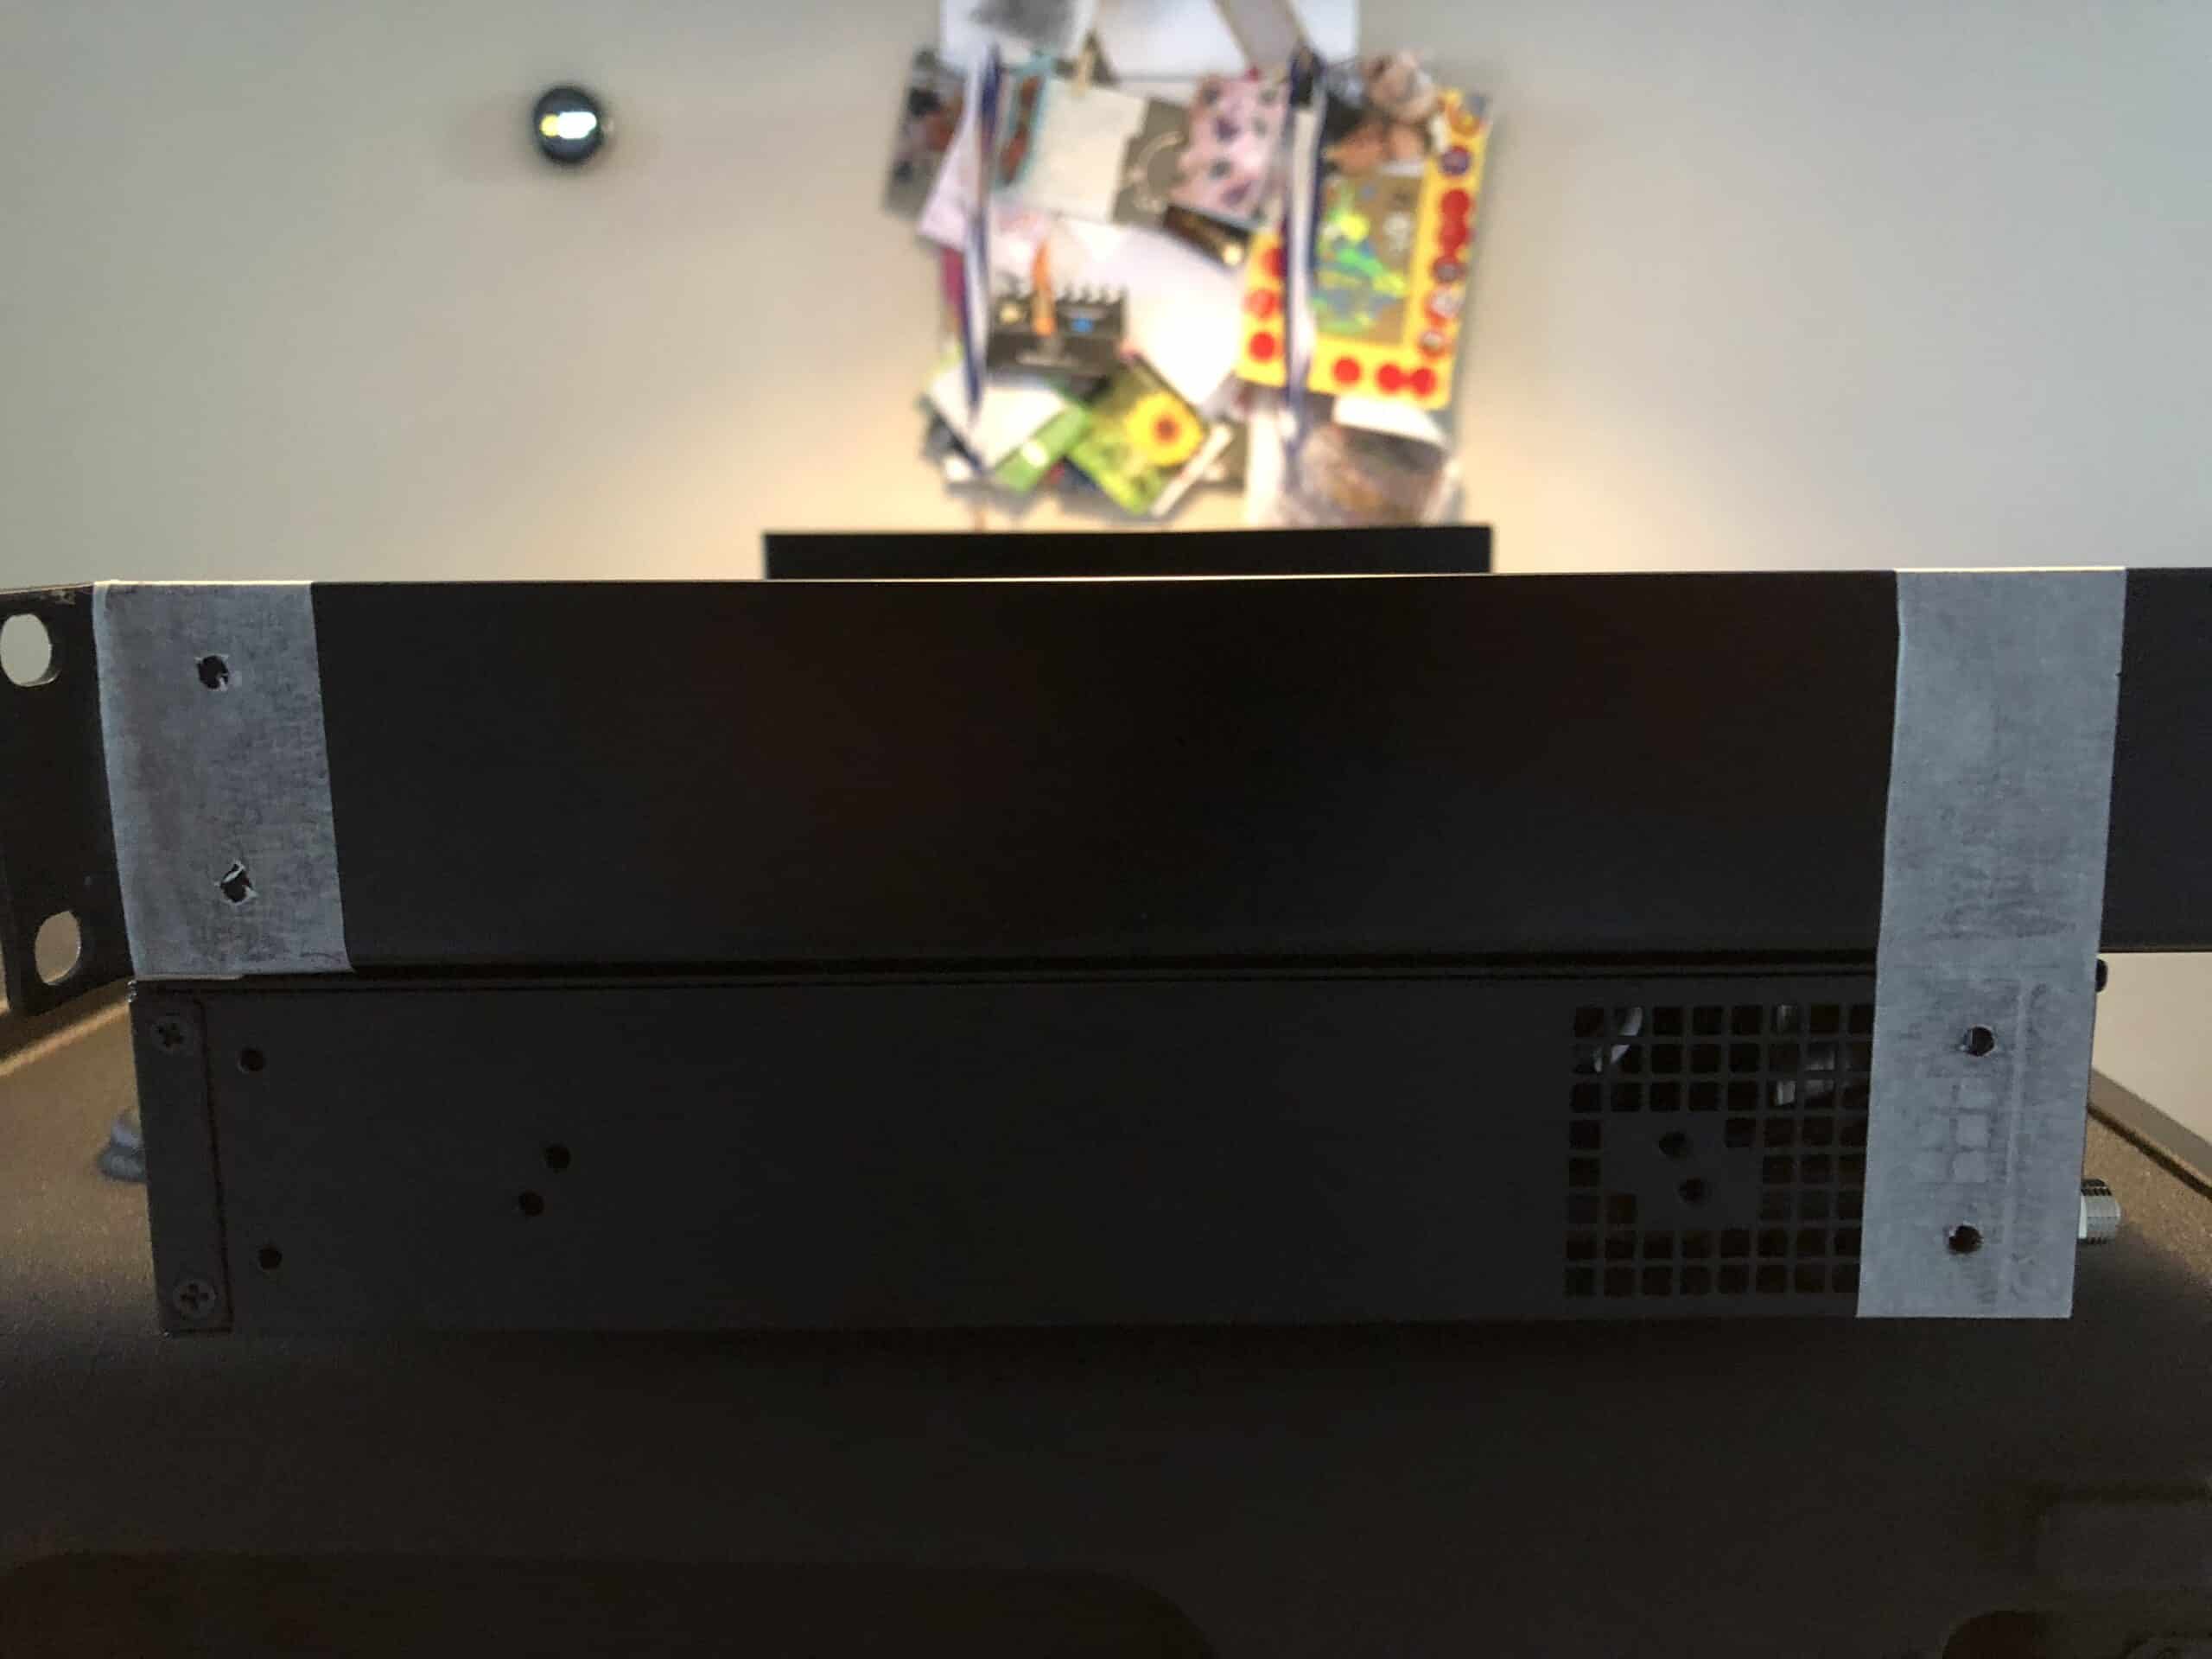
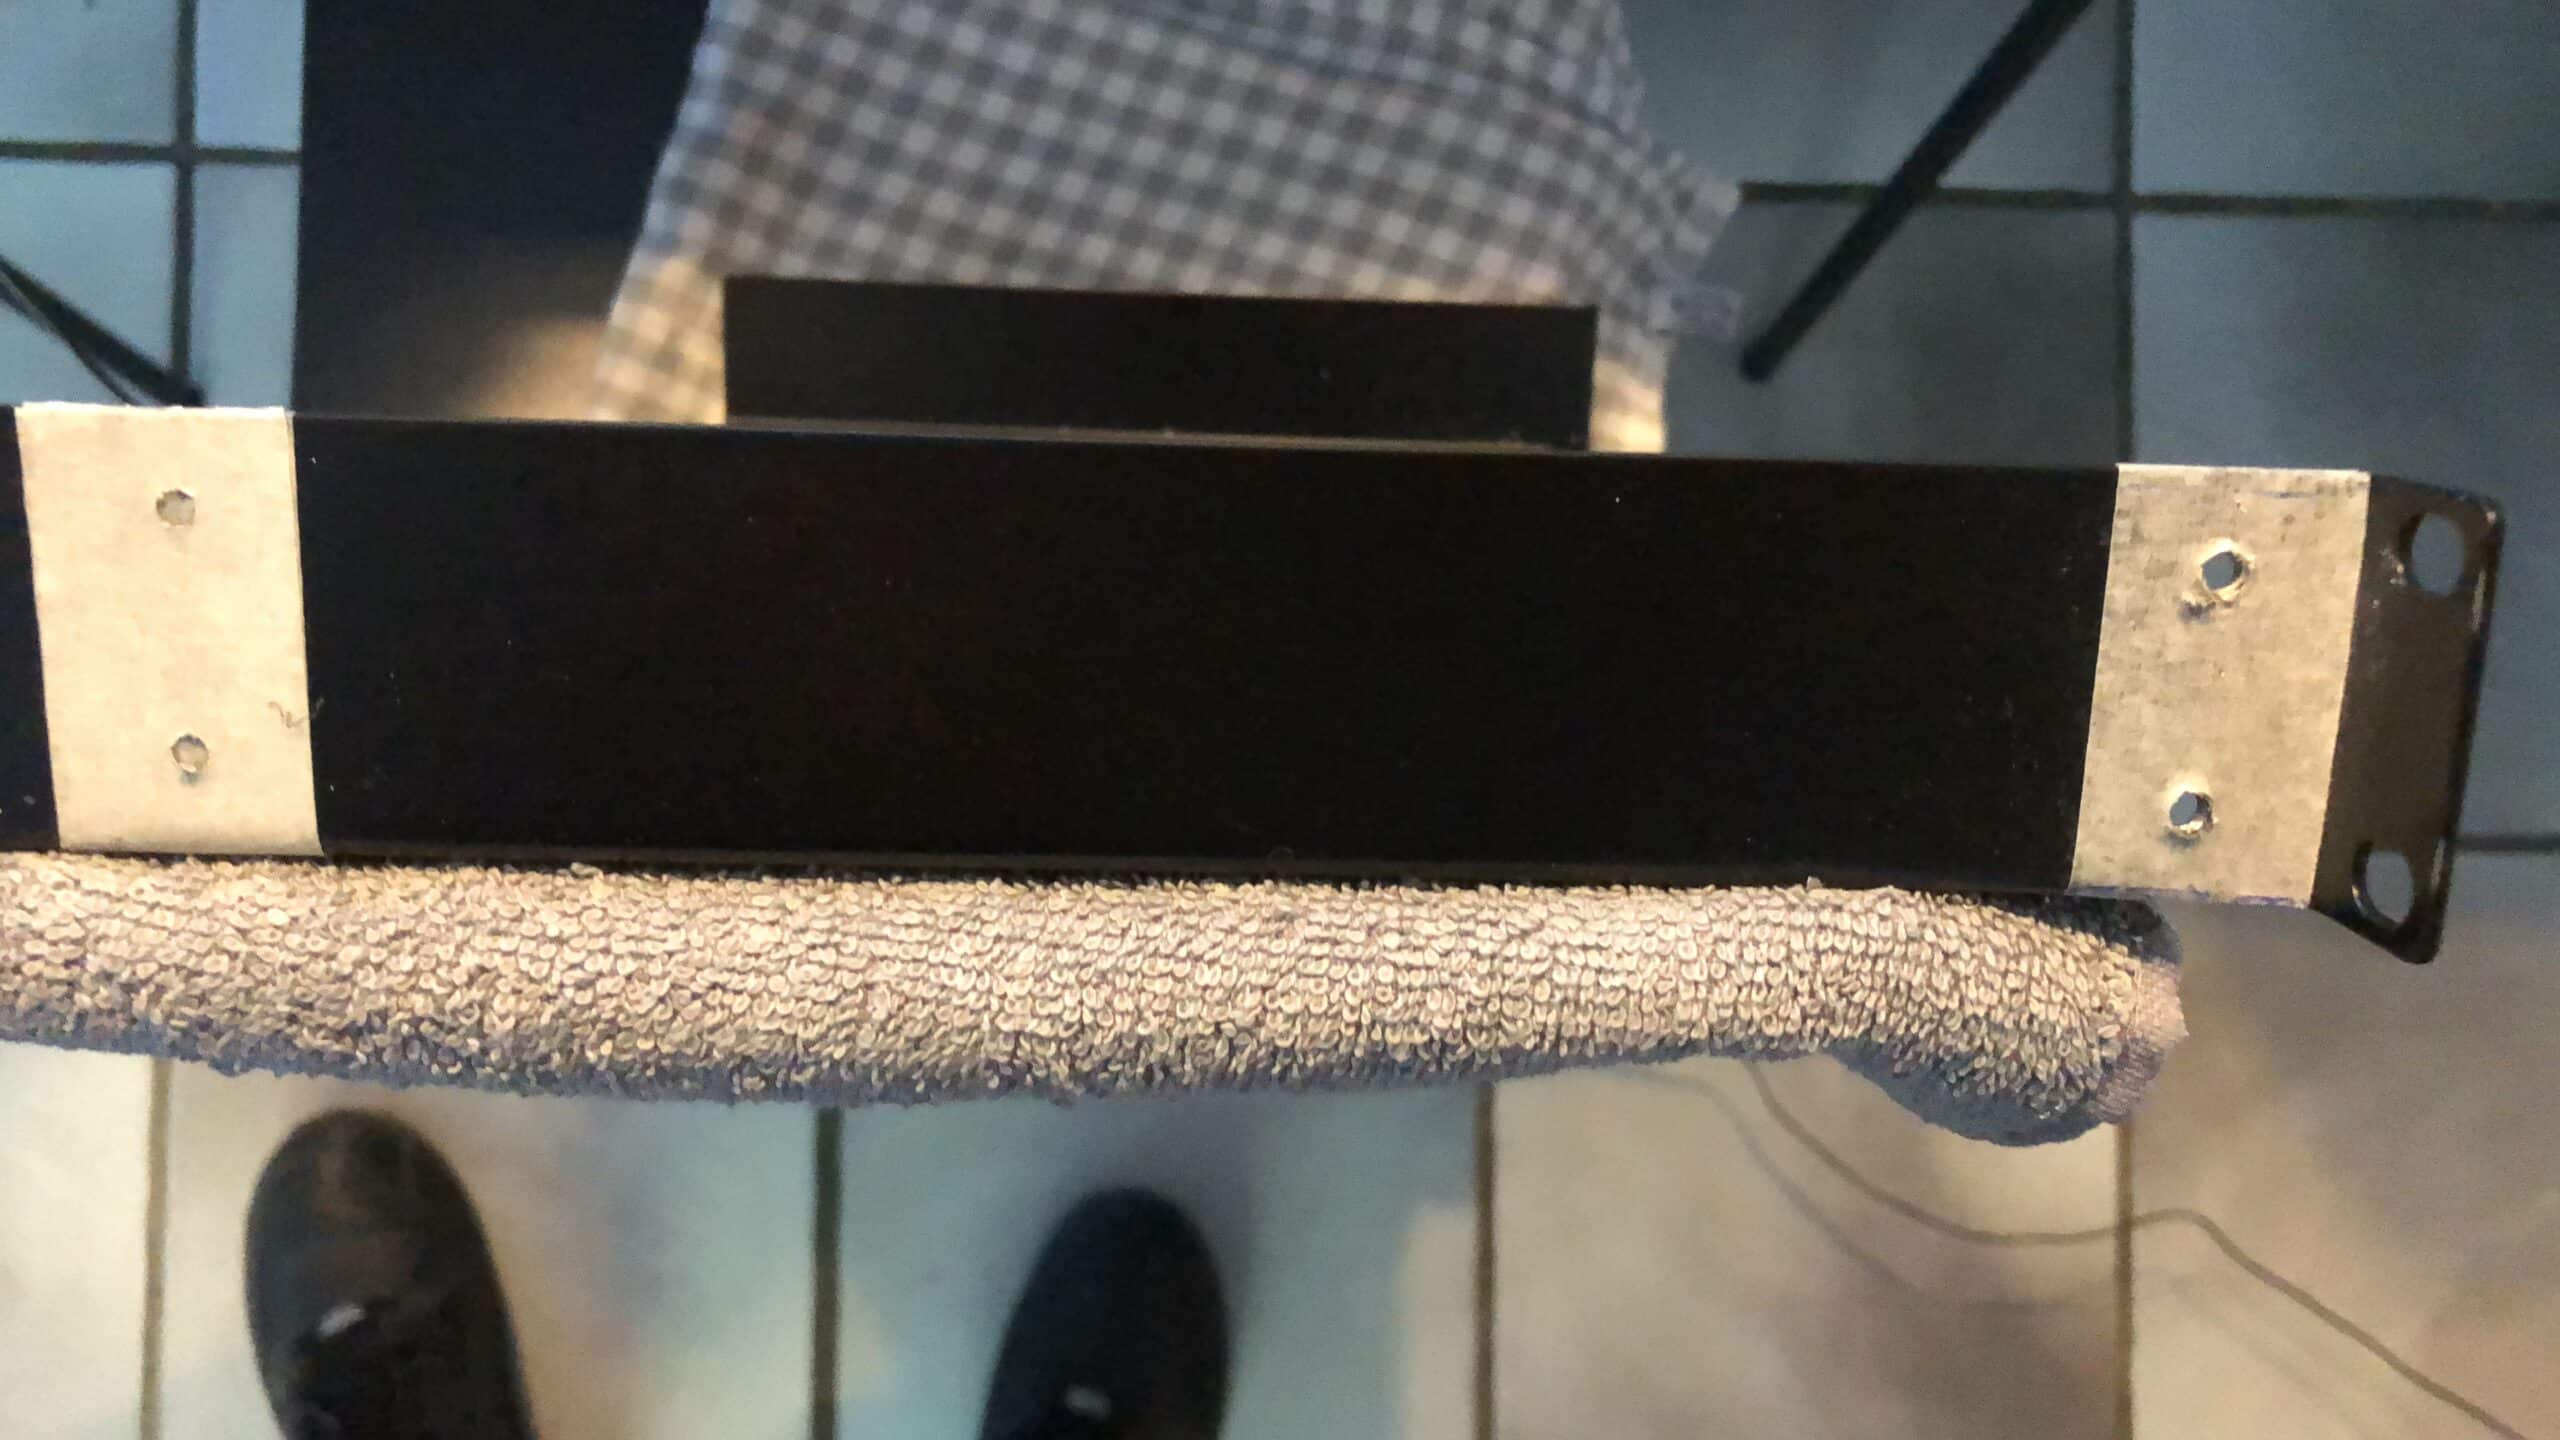
Creating the Supermicro mounts
We could have just bought the original Supermicro E300-8D rack mounts with a hefty price of 50$ a piece but... We did it the hard way! Used 1U trays so that on the top tray the NUC could be placed and on the second tray both adapters for the E300-8D could be placed. Had to drill the mounting holes to mount the E300-8D and sawed off a 1U mesh front plate but the result is there!
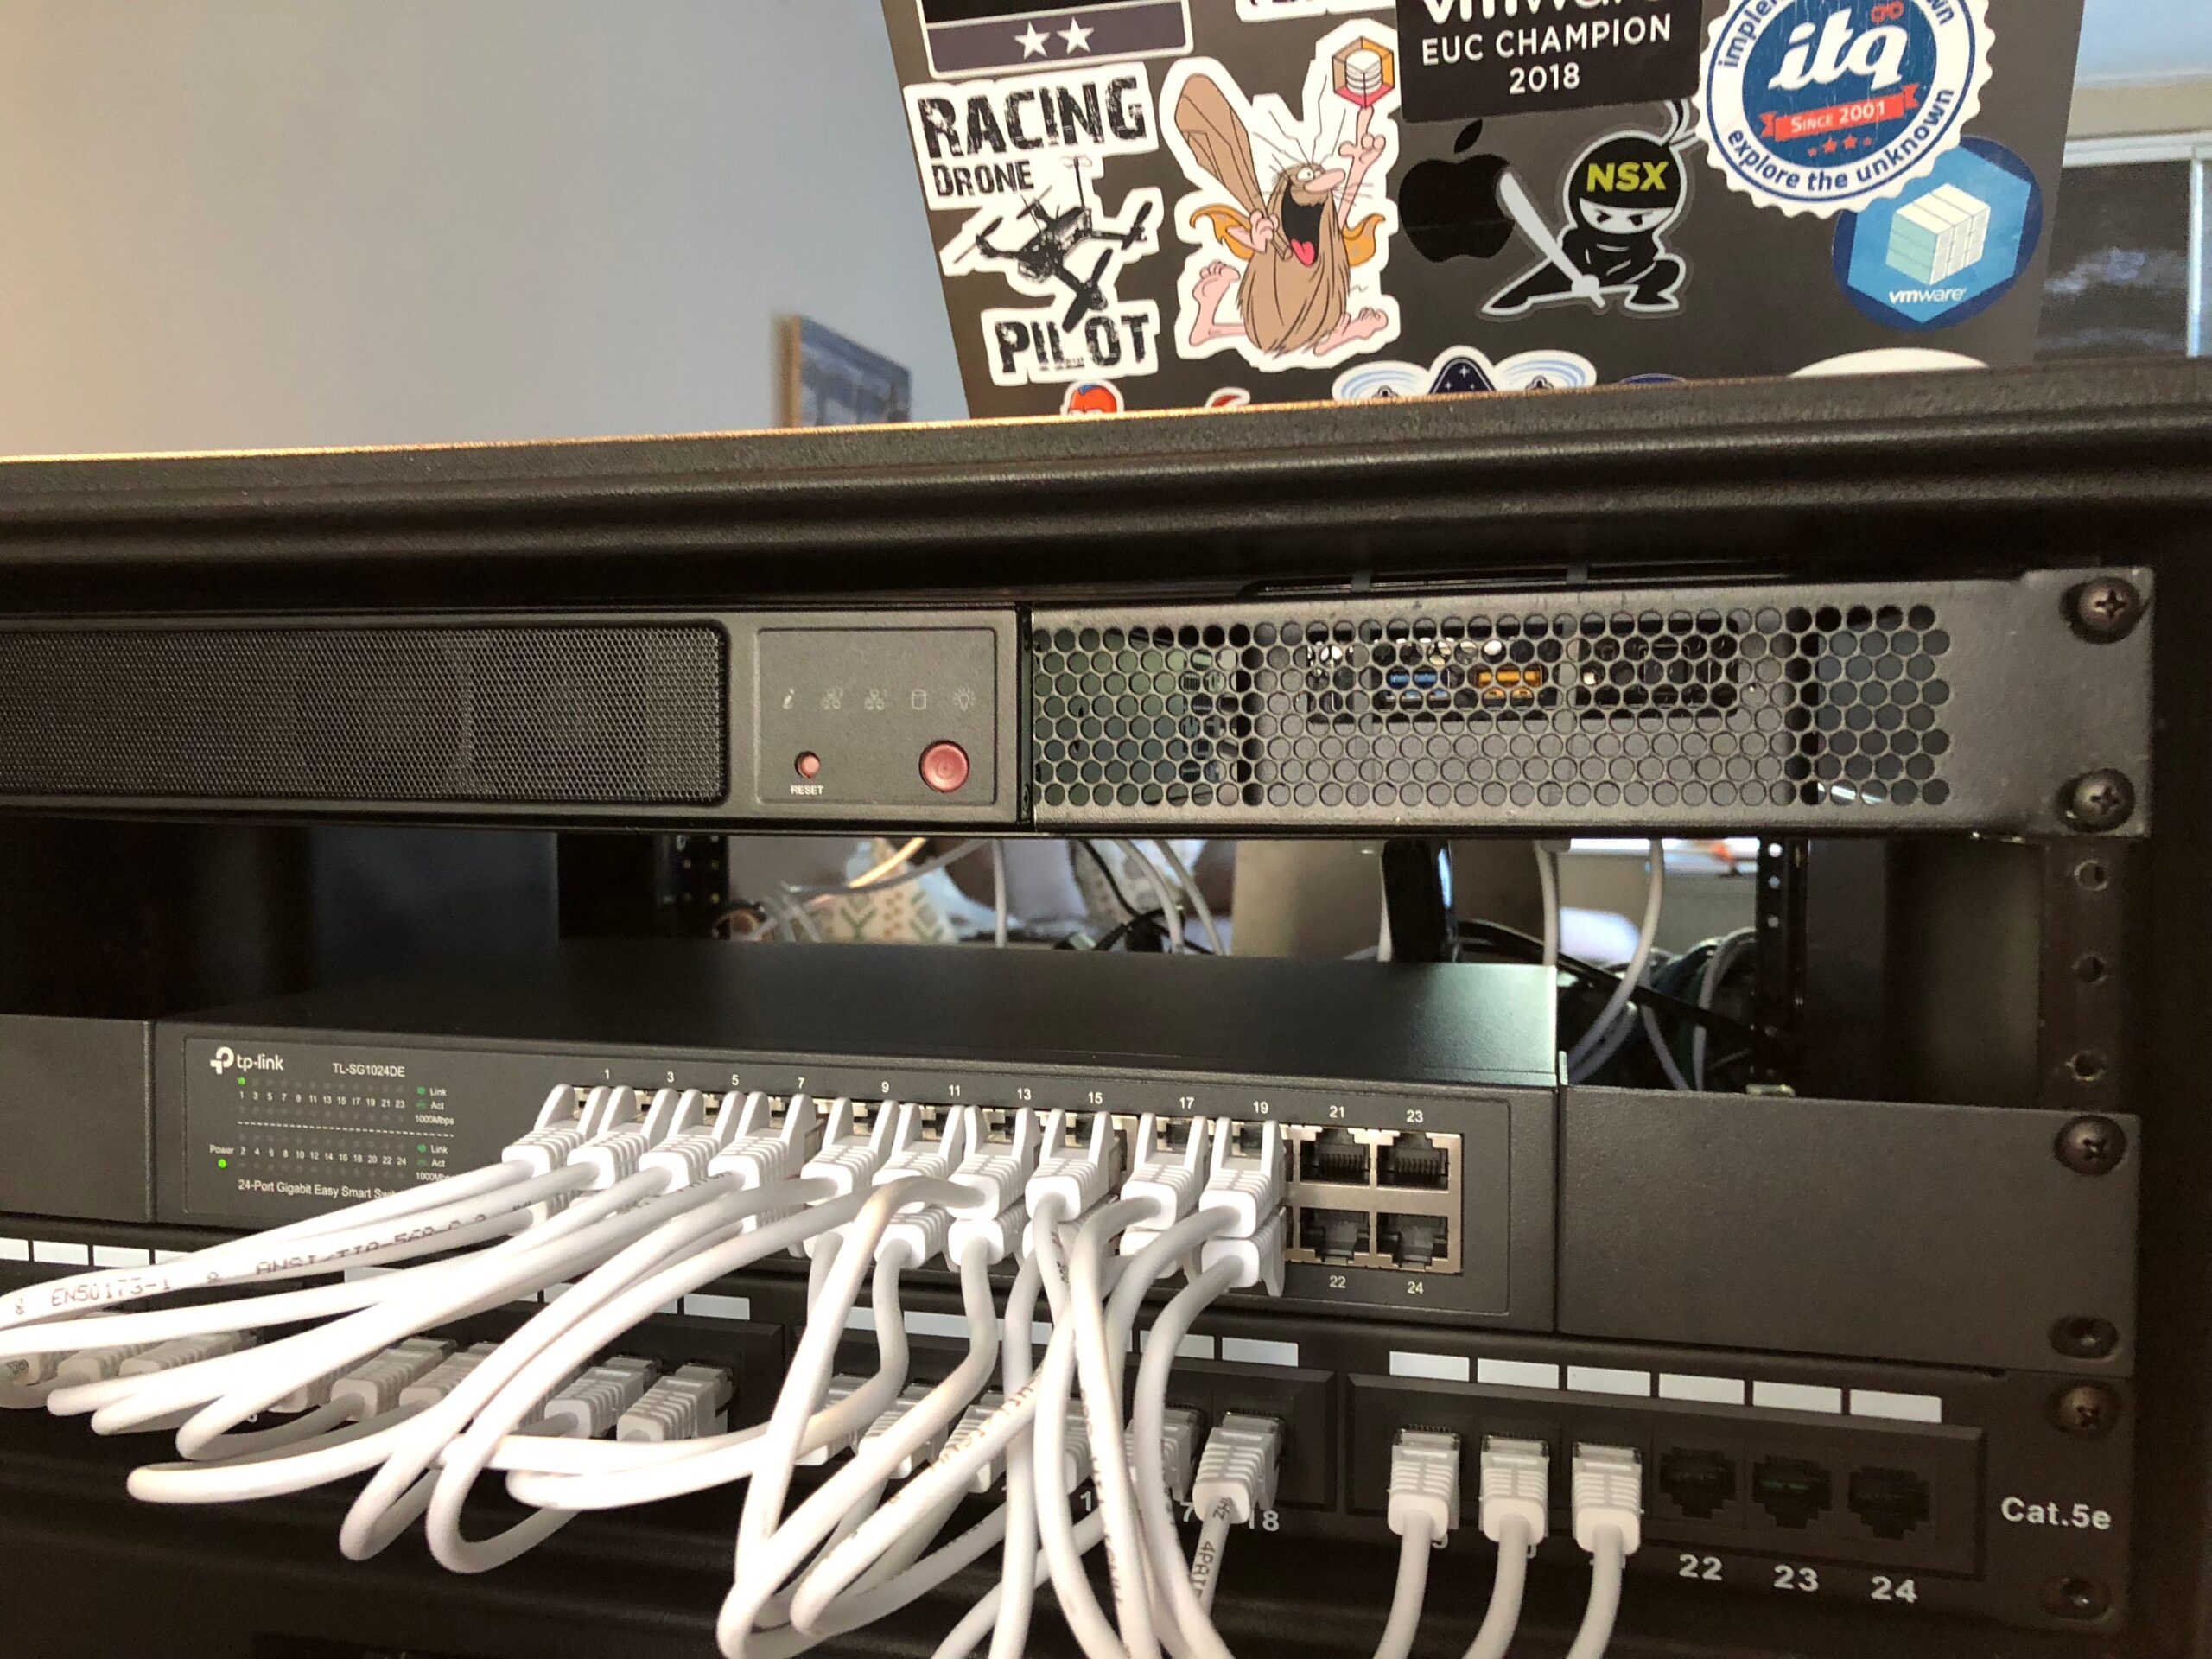
The Cable Guy
Man... I forgot what a time-consuming task stamping a patch panel is... It took me over 5 hours to get it properly done and tested. A few times the connections were not stable and went to 100MBit instead of 1GBit. Had to redo those and eventually all was OK. For now, I have to do OCD-style cable management on the inside but the first priority was to get all up and running within the case. I used a Linksys E2500 Wireless router to have basic routing in-place with a small DHCP scope. This makes it super easy to connect to it via 5GHz WiFi to use this lab and to manage it without a cable plugged into it. If you want an internet connection, just plug into the WAN port of the router and you will be online to do all updates straight from the web.
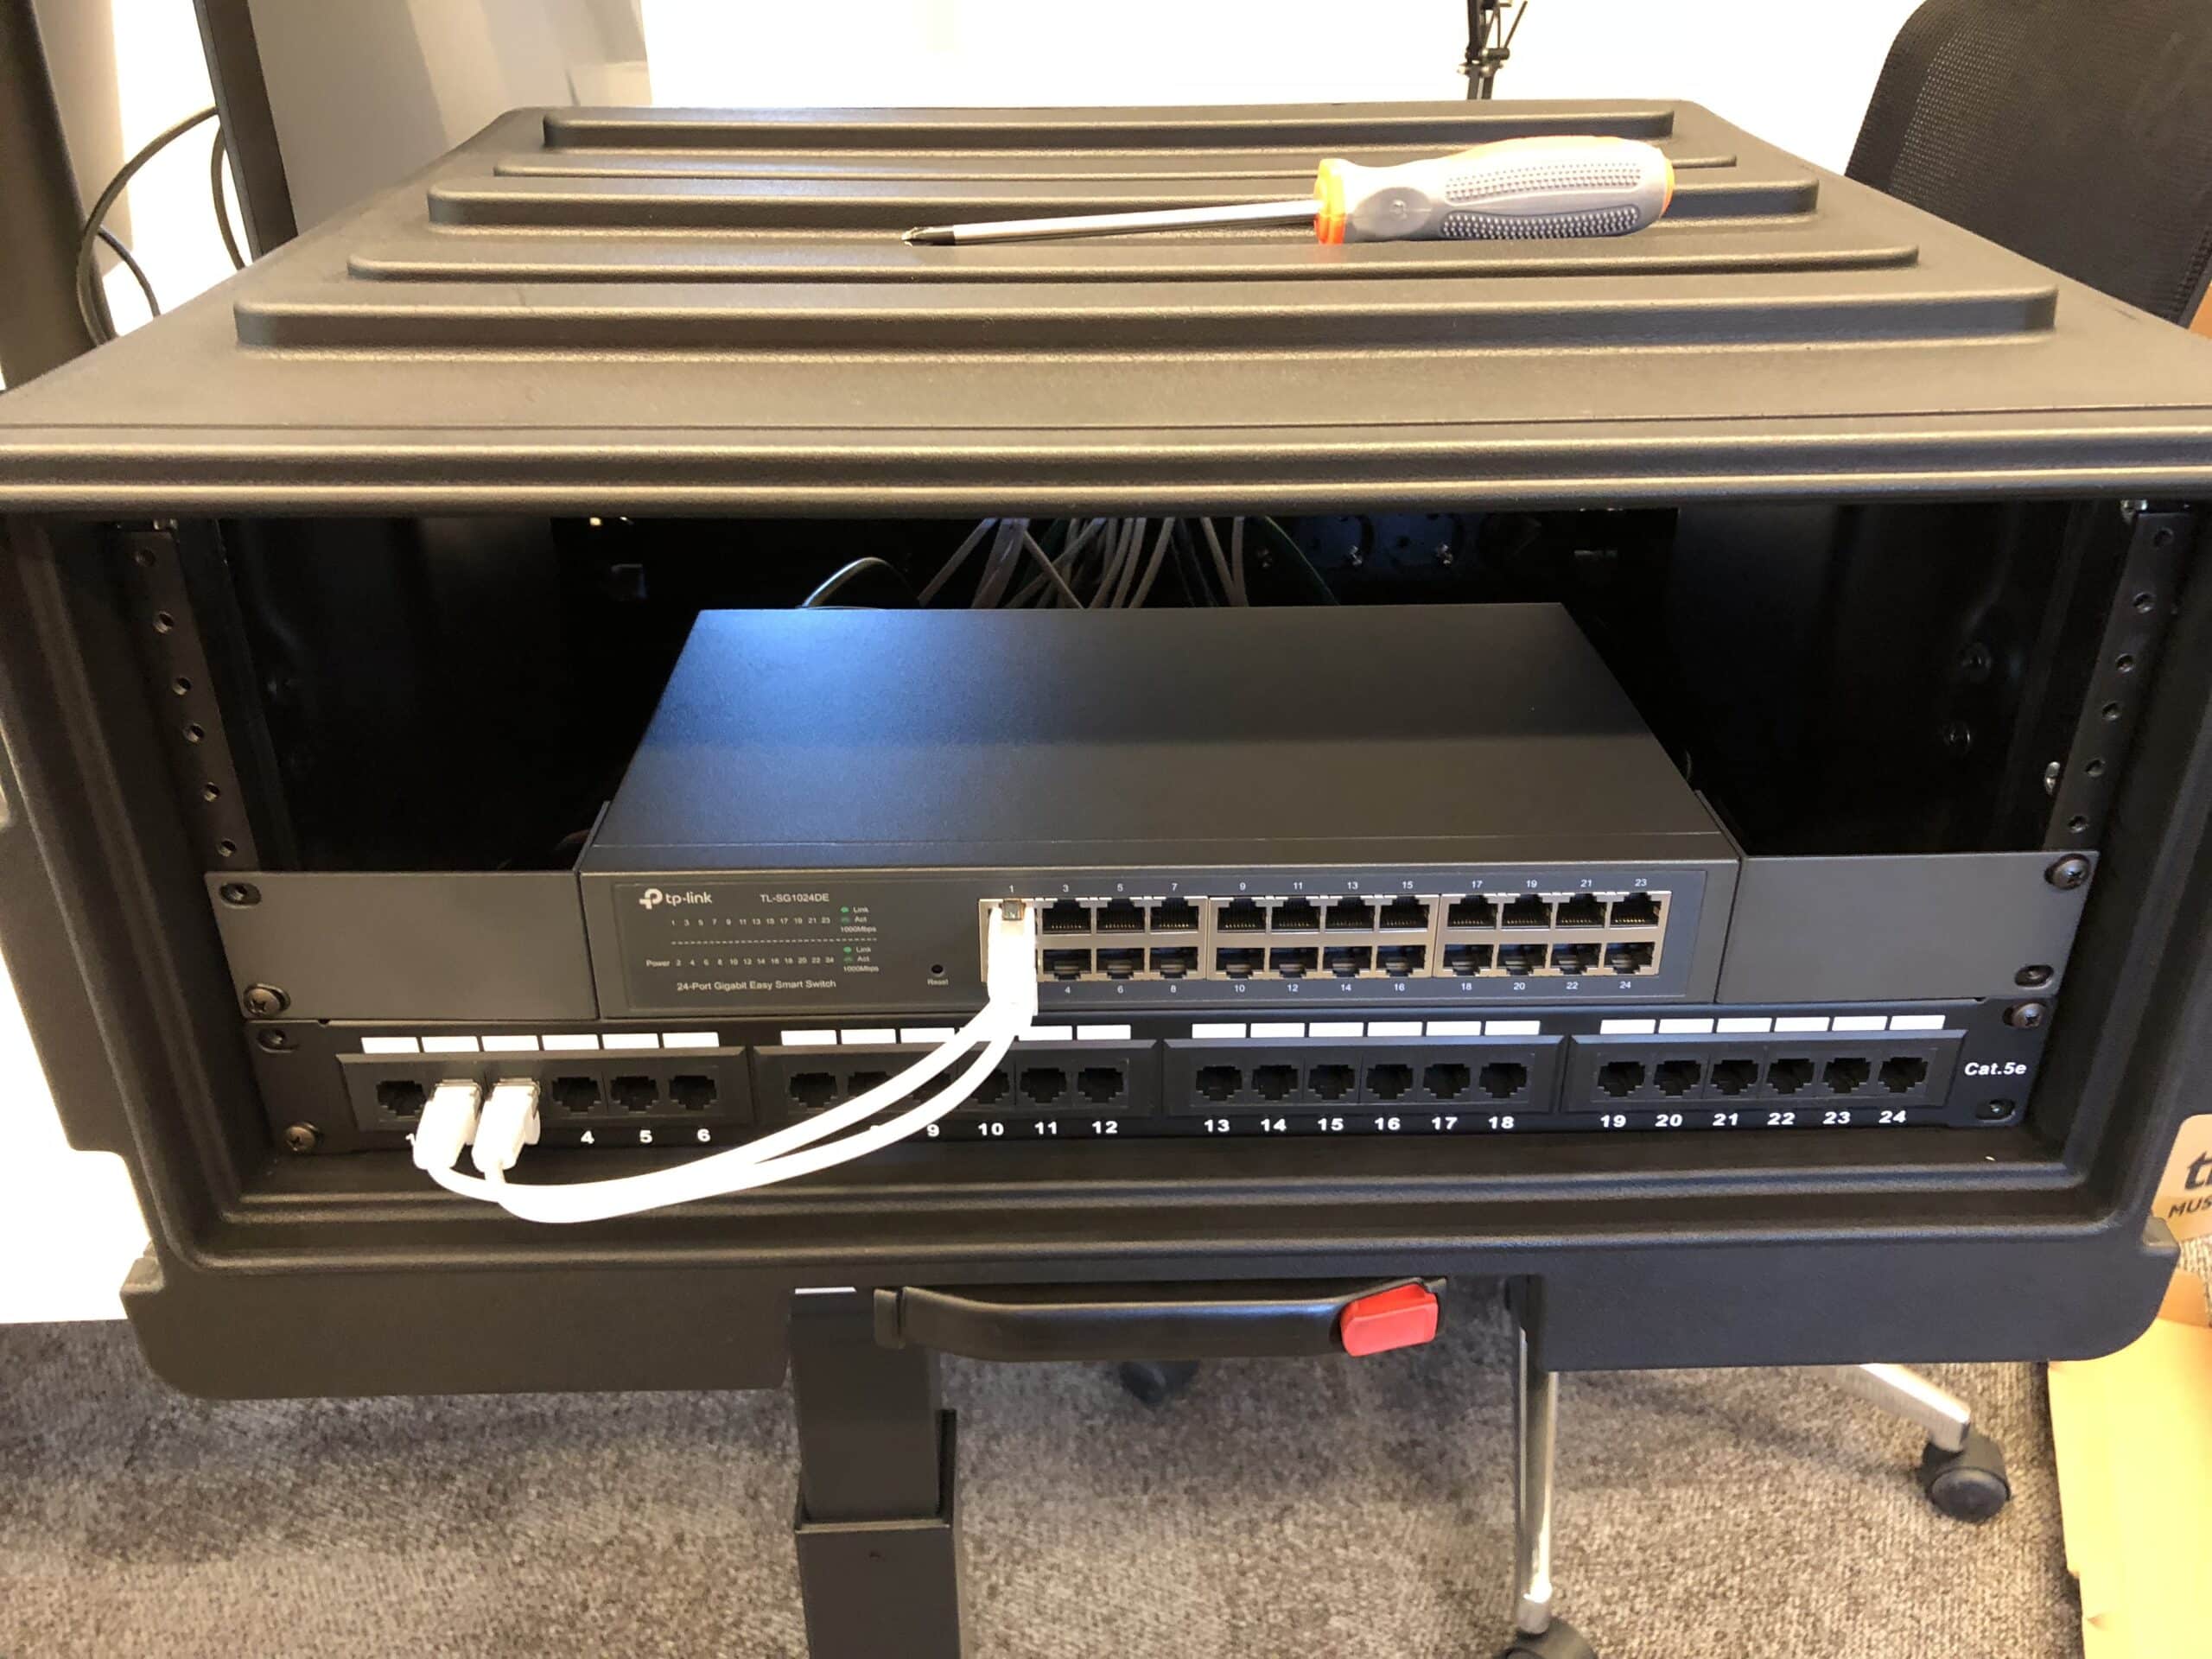
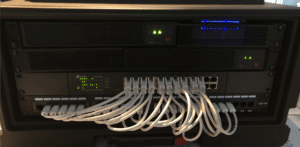
The results
I think I put in an hour or ten to get this all done. Created own mounting brackets for the E300-8D systems and patching it up took the most time. The overall result is there. This is a plug and play lab now! Just plug in the one power cable and an optional uplink to the wan port and you are ready to go. The router will power on instantly. The NUC is configured to start when power is detected. Also, the Domain controller, vCenter, and the vSAN witness is booted automatically when the NUC ESXi is started. After the management is all up both E300-8D can be started up. Plugging into the wall and booting up everything can be done under 5 minutes. Glad this sucker is on wheels... it weighs 16 ish kilos total! #holy