Part two: Installing JMP
In the previous part we’ve set up the database requirements for the JMP installation. The installation of JMP is, in my opinion, really easy and straight forward.
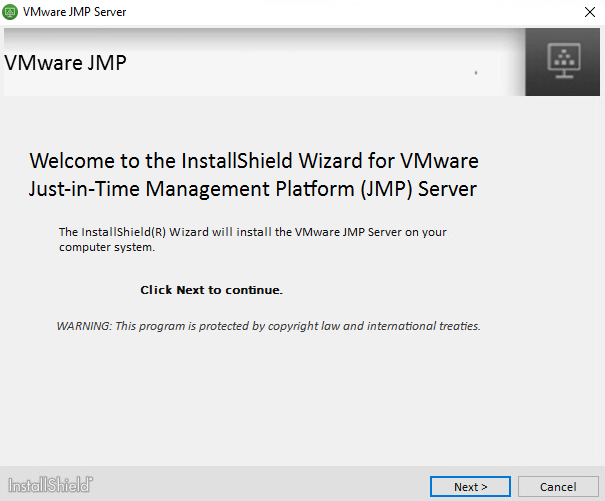
- Launch the setup and click Next.
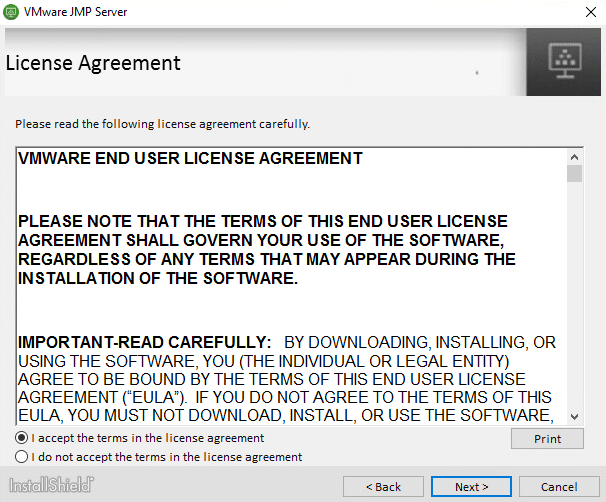
- Accept the license agreement and click Next.
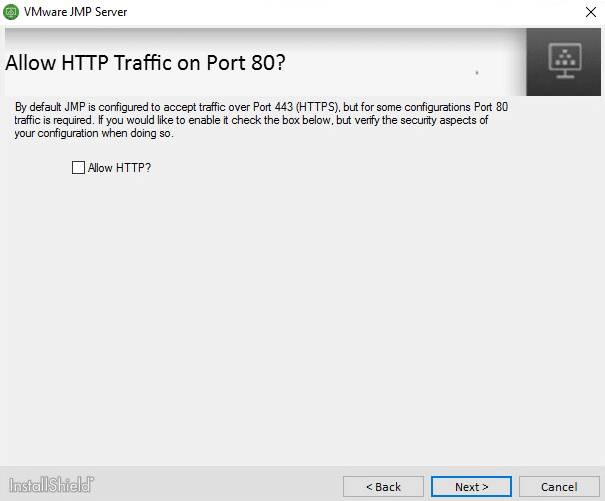
- No, I don’t want to allow HTTP traffic.
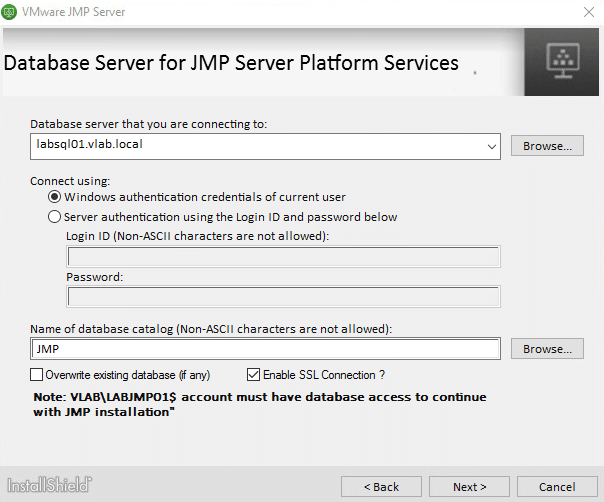
- Enter the name of the SQL server and JMP database. Because I configured my environment with my own SSL certificates, I selected Enable SSL connection. Click Next to continue.
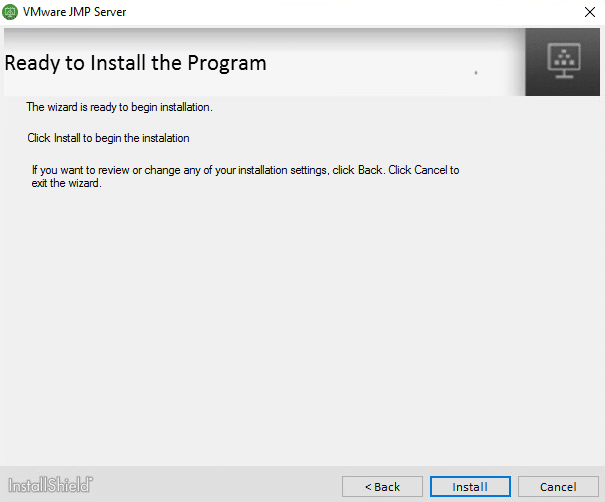
- Click Install to start the installation.
- Click Finish to complete the installation.
The JMP server has successfully finished installing. Continue to the next part of this series to configure JMP.
JMP: Installing and Configuring – Part One
JMP: Installing and Configuring – Part two
JMP: Installing and Configuring – Part three
JMP: Installing and Configuring – Part four
JMP: Installing and Configuring – Part five
Het bericht JMP: Installing and Configuring – Part two verscheen voor het eerst op Age Roskam.
The original article was posted on: ageroskam.nl