In this final part of the JMP series I’m creating a JMP assignment. JMP assignments are, in my opinion, a great way to set up default configurations for your VDI or RDSH environment.
With a few clicks you combine an Instant Clone pool with a set of applications and user environment settings for a complete department or even your whole company.
In this example I’m going to create baseline for my VDI environment, Which exists out of a Windows 10 Instant Clone pool, an AppStack with applications and a set of default user settings all of my fictive users need.
- Log in to the Horizon View Management Console.
- Click JMP Assignments > Add Assignment.
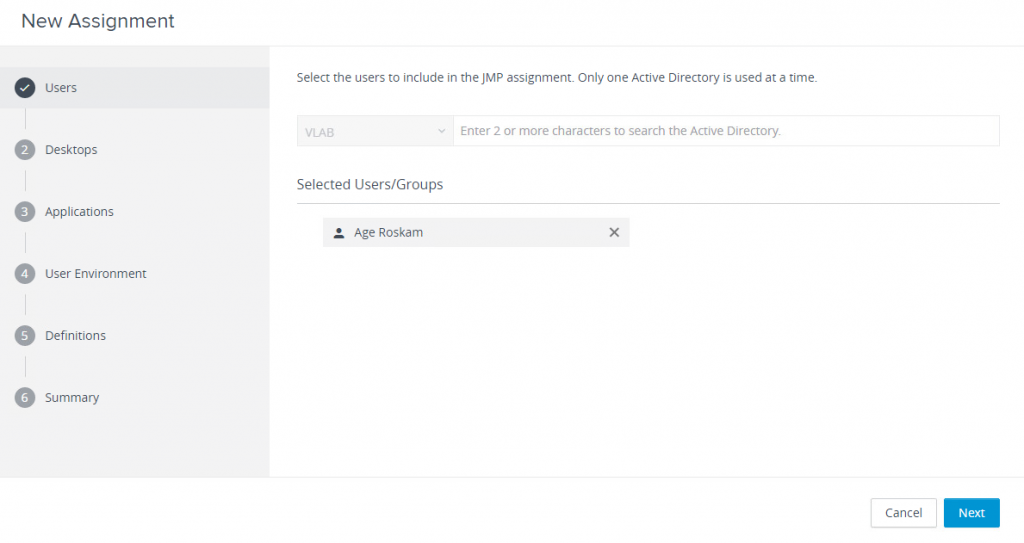
- Add users or groups.
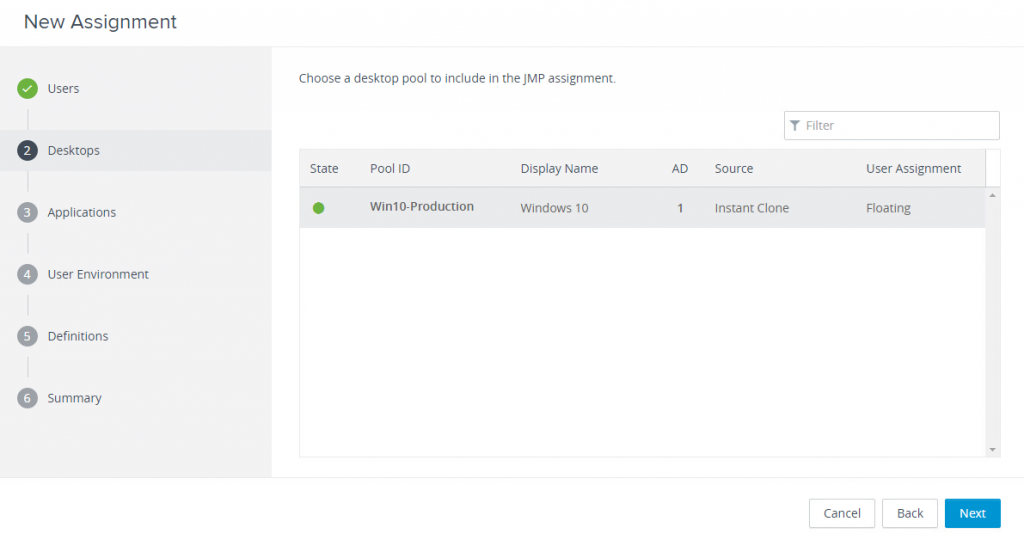
- Select the pool, in this case my Windows 10 Instant Clone pool.
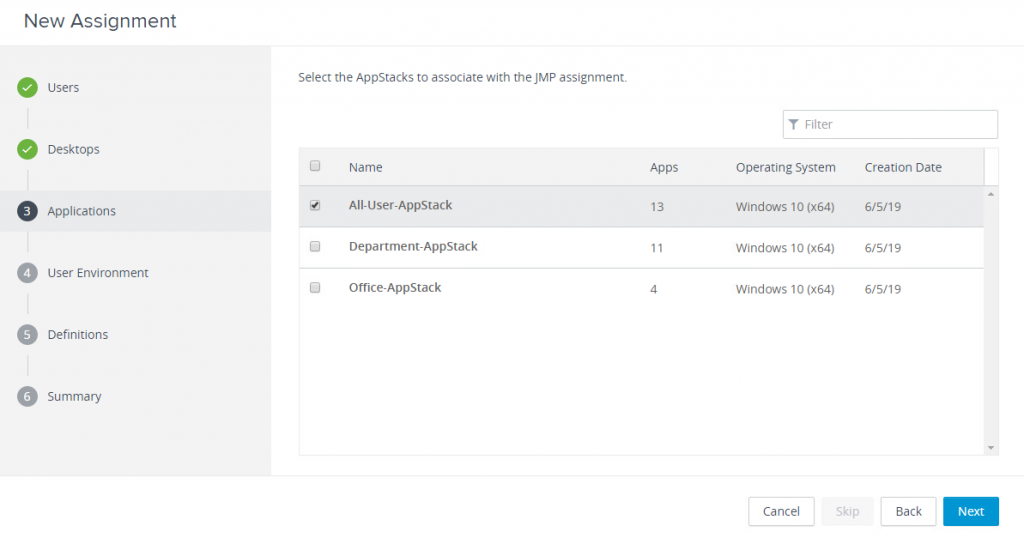
- Select the AppStacks you want to link.
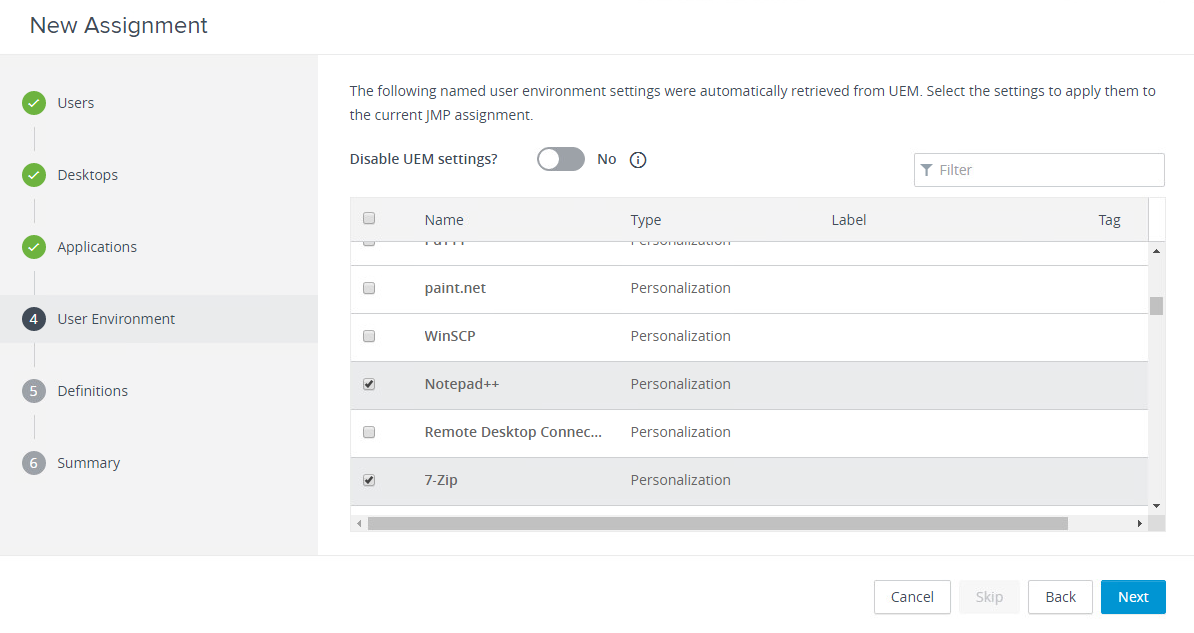
- Select the UEM configurations. This can be every type of UEM setting available. If you don’t want to add UEM settings, slide the Disable UEM settings button to No.
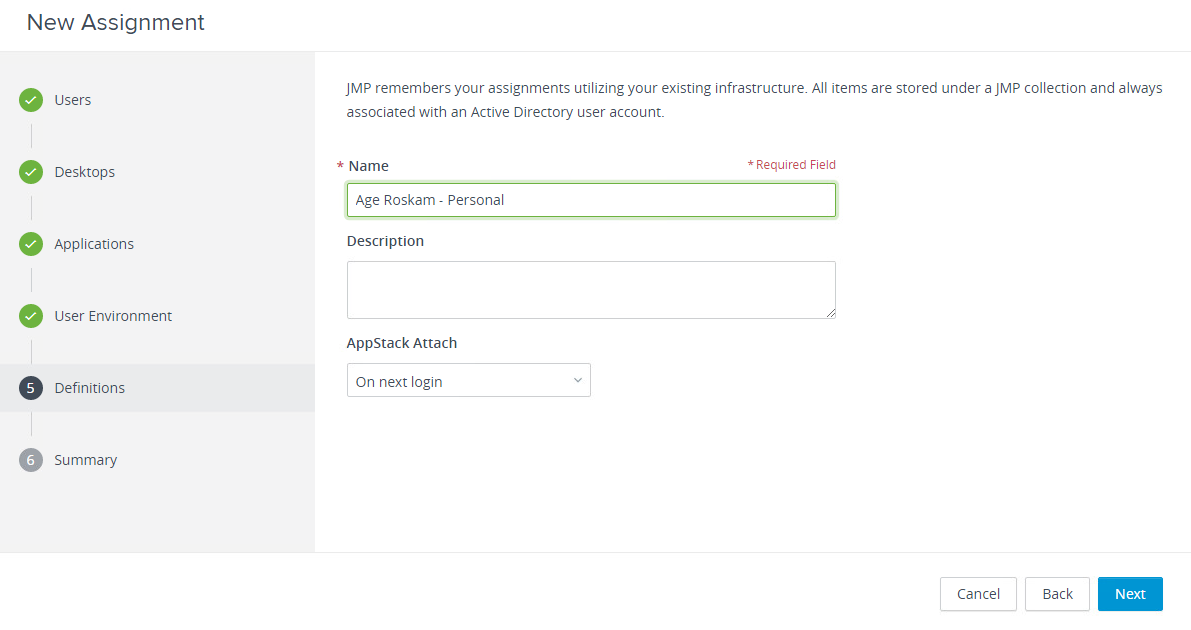
- Enter the default name for the JMP assignment, add a description and select attach AppStack at next login.
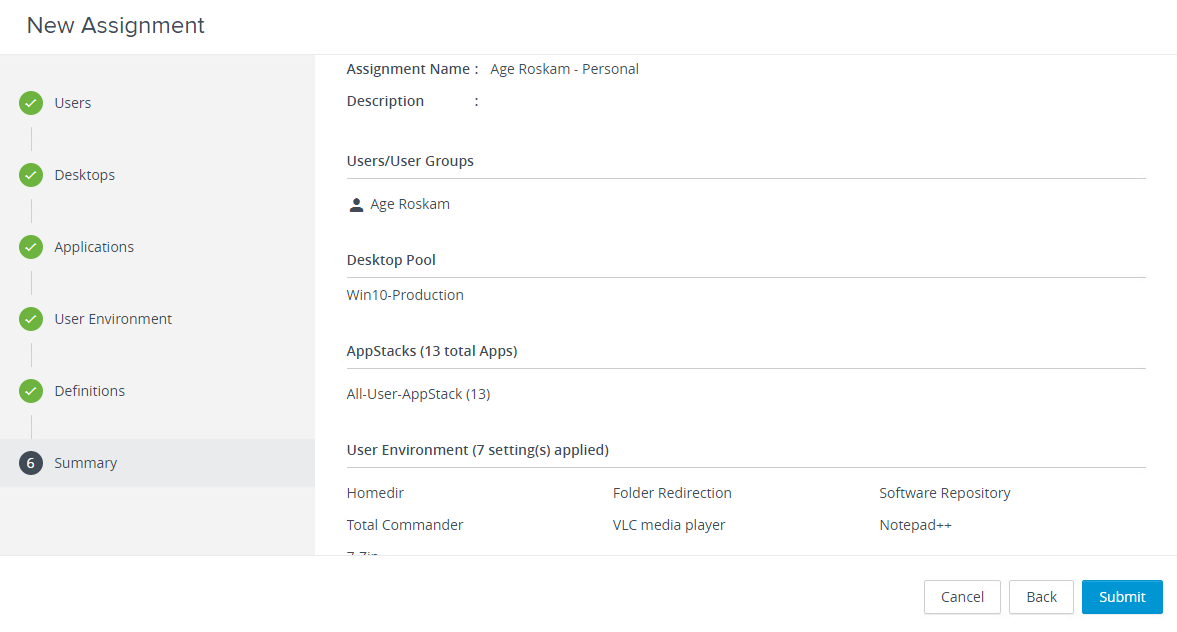
- In the summary click Submit.
This is all there is regarding installing and configuring the JMP server. I hope these series gave you some insights on what JMP is and how you can set it up in your lab or maybe even do a Proof of Concept. Thank you for reading!
JMP: Installing and Configuring – Part One
JMP: Installing and Configuring – Part two
JMP: Installing and Configuring – Part three
JMP: Installing and Configuring – Part four
JMP: Installing and Configuring – Part five
Het bericht JMP: Installing and Configuring – Part five verscheen voor het eerst op Age Roskam.
The original article was posted on: ageroskam.nl


